Friday, November 27, 2009

Daring Bakers: Cannoli

Think of the last thing you ate that was deep fried.  Got it?  Although my wontons are a recent memory, the biggest deep fried memory I have are mini donuts.  They don't even call them doughnuts, just donuts because they're mini.  They'd be freshly deep fried, with cinnamon sugar poured all over.  You could eat them all day.  In fact, for that one day each year, you would.  Of course, these were not homemade.  They were probably made by underpaid (possibly overpaid) teens, who would rather be somewhere else with their friends.  This month for Daring Bakers, we made cannoli.  These ones were made for free by this teenager (guess that would make me underpaid?) and I wouldn't rather be anywhere else.  Something about kneading a dough with your own hands, rolling it out and cutting into random shapes with the hope that it will all turn out perfectly.  Then, they puffed!  Really really big.  Some had just one giant air bubble.  Made them look like suns.

The November 2009 Daring Bakers Challenge was chosen and hosted by Lisa Michele of Parsley, Sage, Desserts and Line Drives. She chose the Italian Pastry, Cannolo (Cannoli is plural), using the cookbooks Lidia's Italian-American Kitchen by Lidia Matticchio Bastianich and The Sopranos Family Cookbook by Allen Rucker; recipes by Michelle Scicolone, as ingredient/direction guides. She added her own modifications/changes, so the recipe is not 100% verbatim from either book.

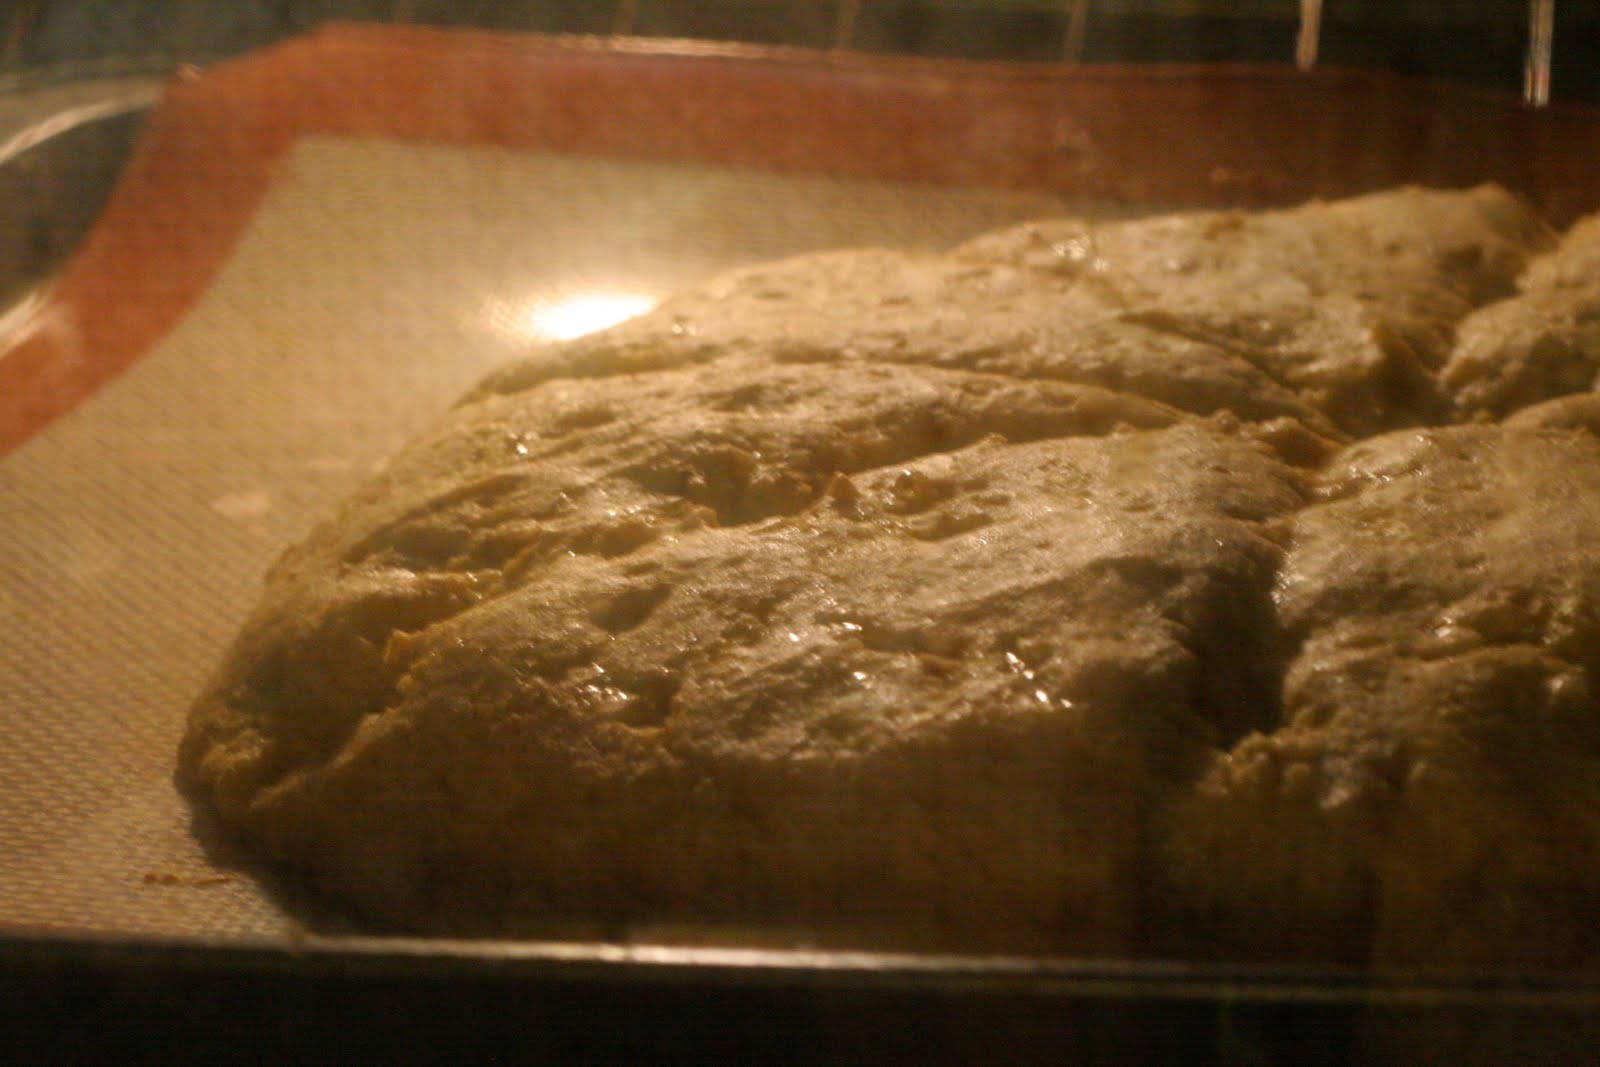
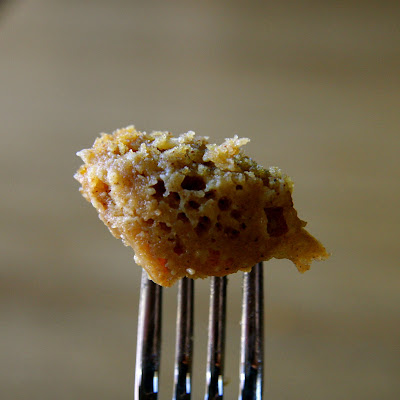
Since it is cannoli, I'm not sure if it was supposed to puff.  I think a blistering effect was intended, but who cares?  Having more elasticity will never be an issue of gluten free, the problem is not having enough - so when there is more, we steal it, hoard it away and of course, show you.

This was an interesting challenge, or at least an interesting conversation.  I had to ask my dad to go buy some wine.  And I don't drink.  Ever.  I think he did a double take, especially when I told him what general type he had to get.  But its all good!  I used the bit I needed for this, and mom and dad enjoyed the rest.  In case you were wondering, I used a white wine because my mom is allergic to red.

Then there was the morning after.  Oh, the pain.  Worst heartburn I've ever had.  So, unfortunately it looks like I won't be making these again, because that was torture.  I was planning on making a filling to go with it, the next day, but since I knew I wouldn't be having any more, that didn't happen.  Sorry!

Enough about that, I've got pictures!

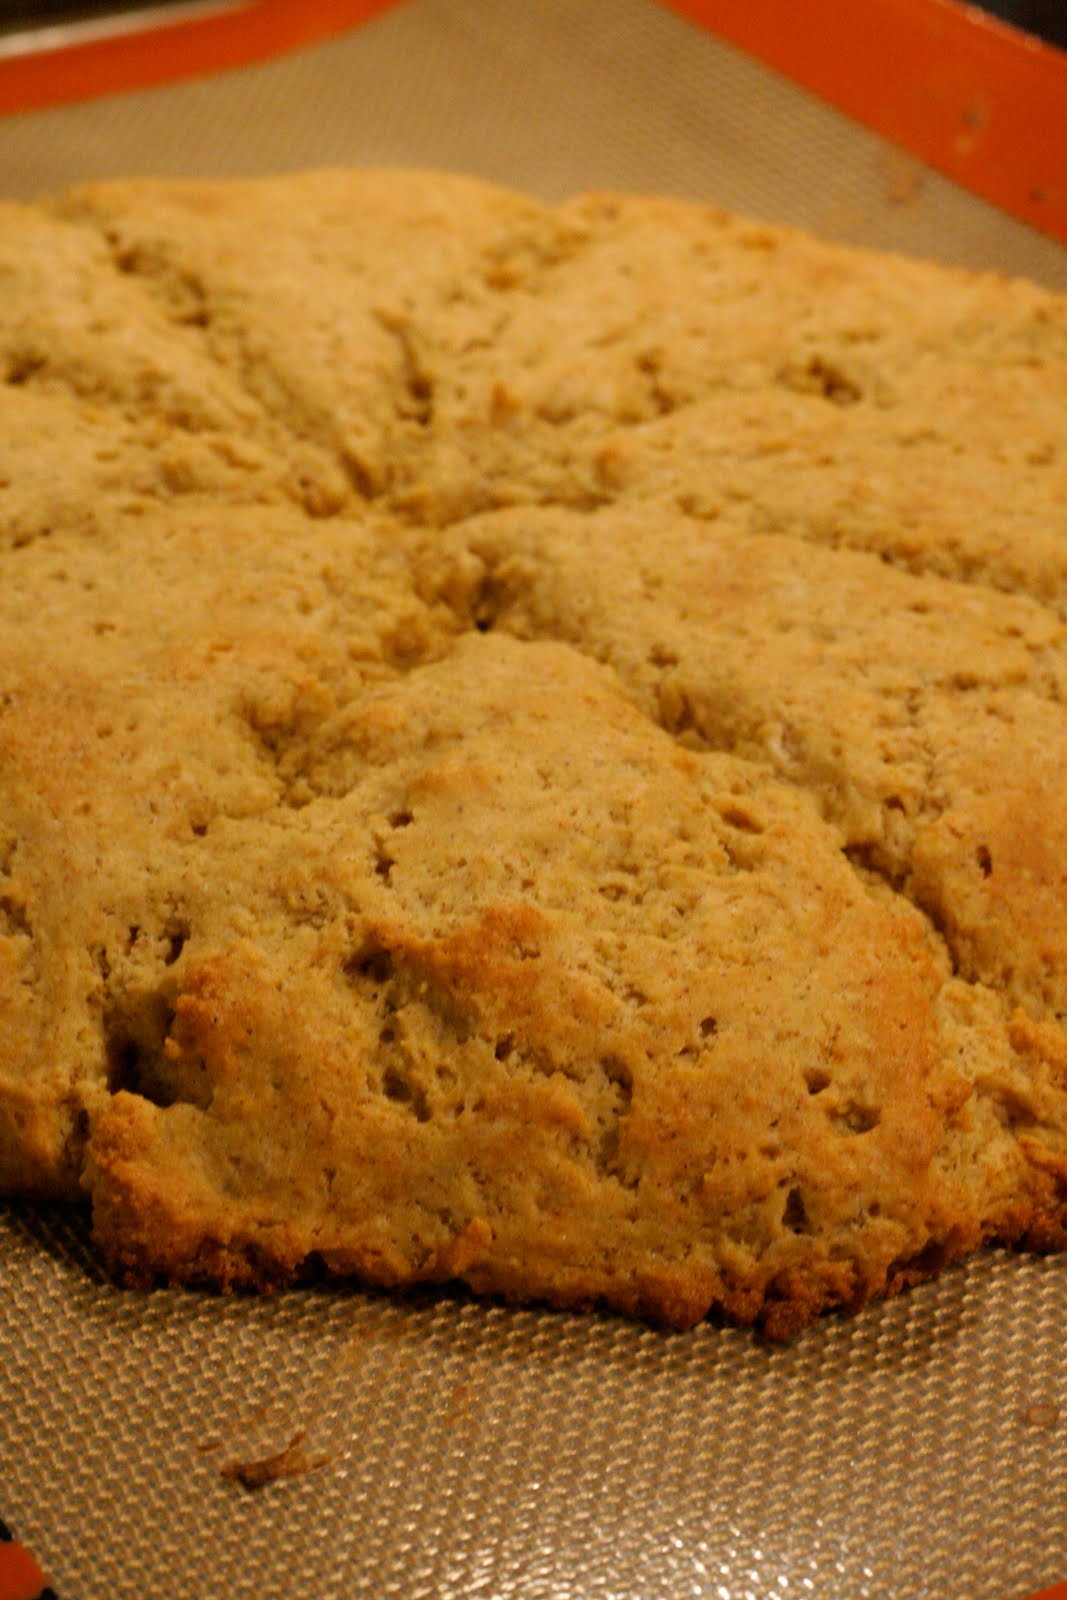
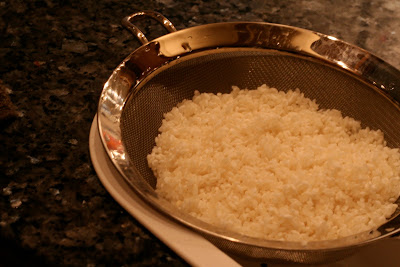
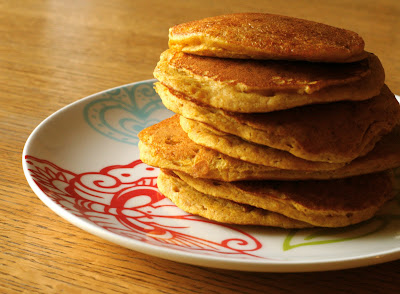
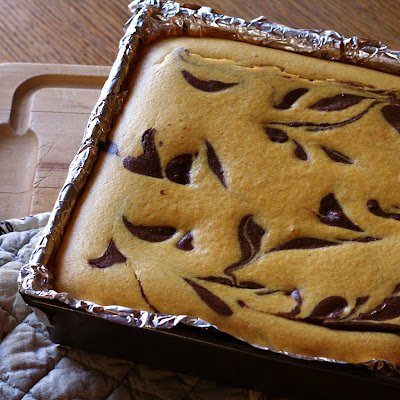
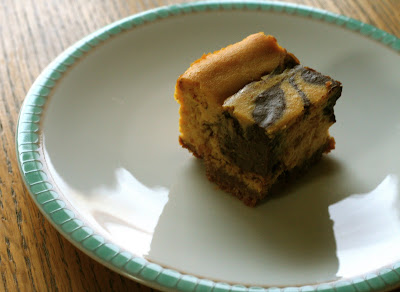
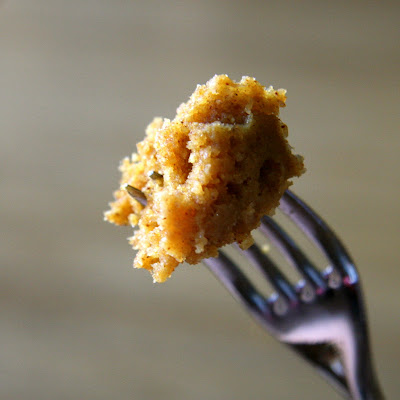
The question is, how does it go from many flours, to this?  Yummy!

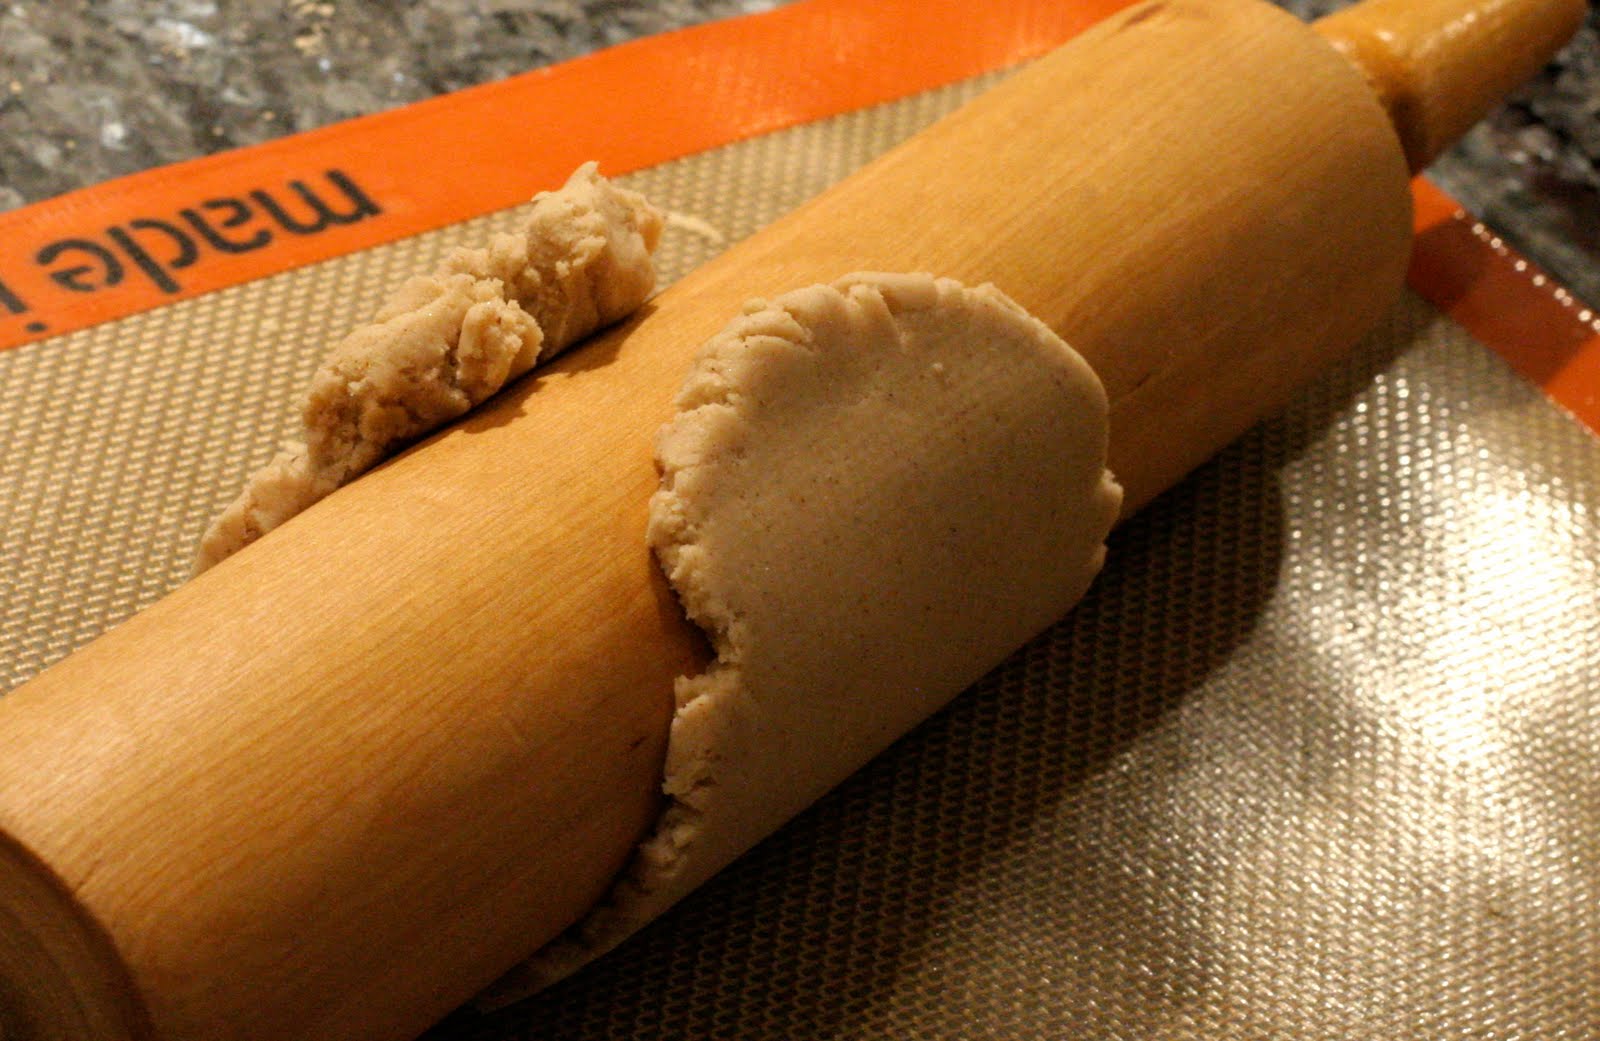
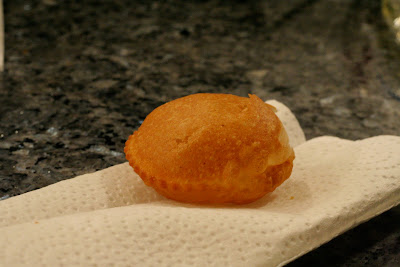
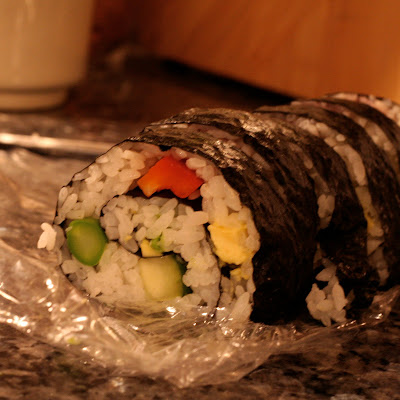
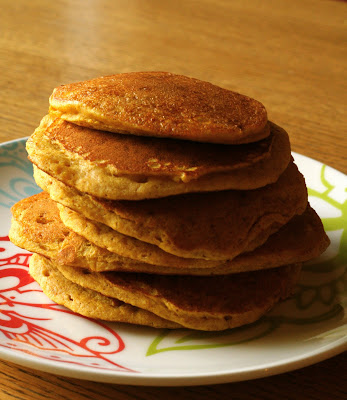
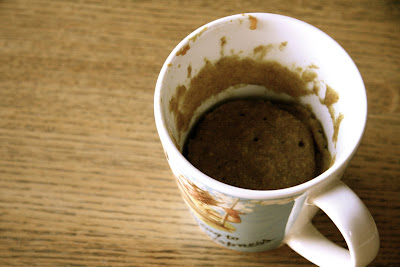
First, it acts all psychic.  It just knew that cannoli would be the ultimate destination.

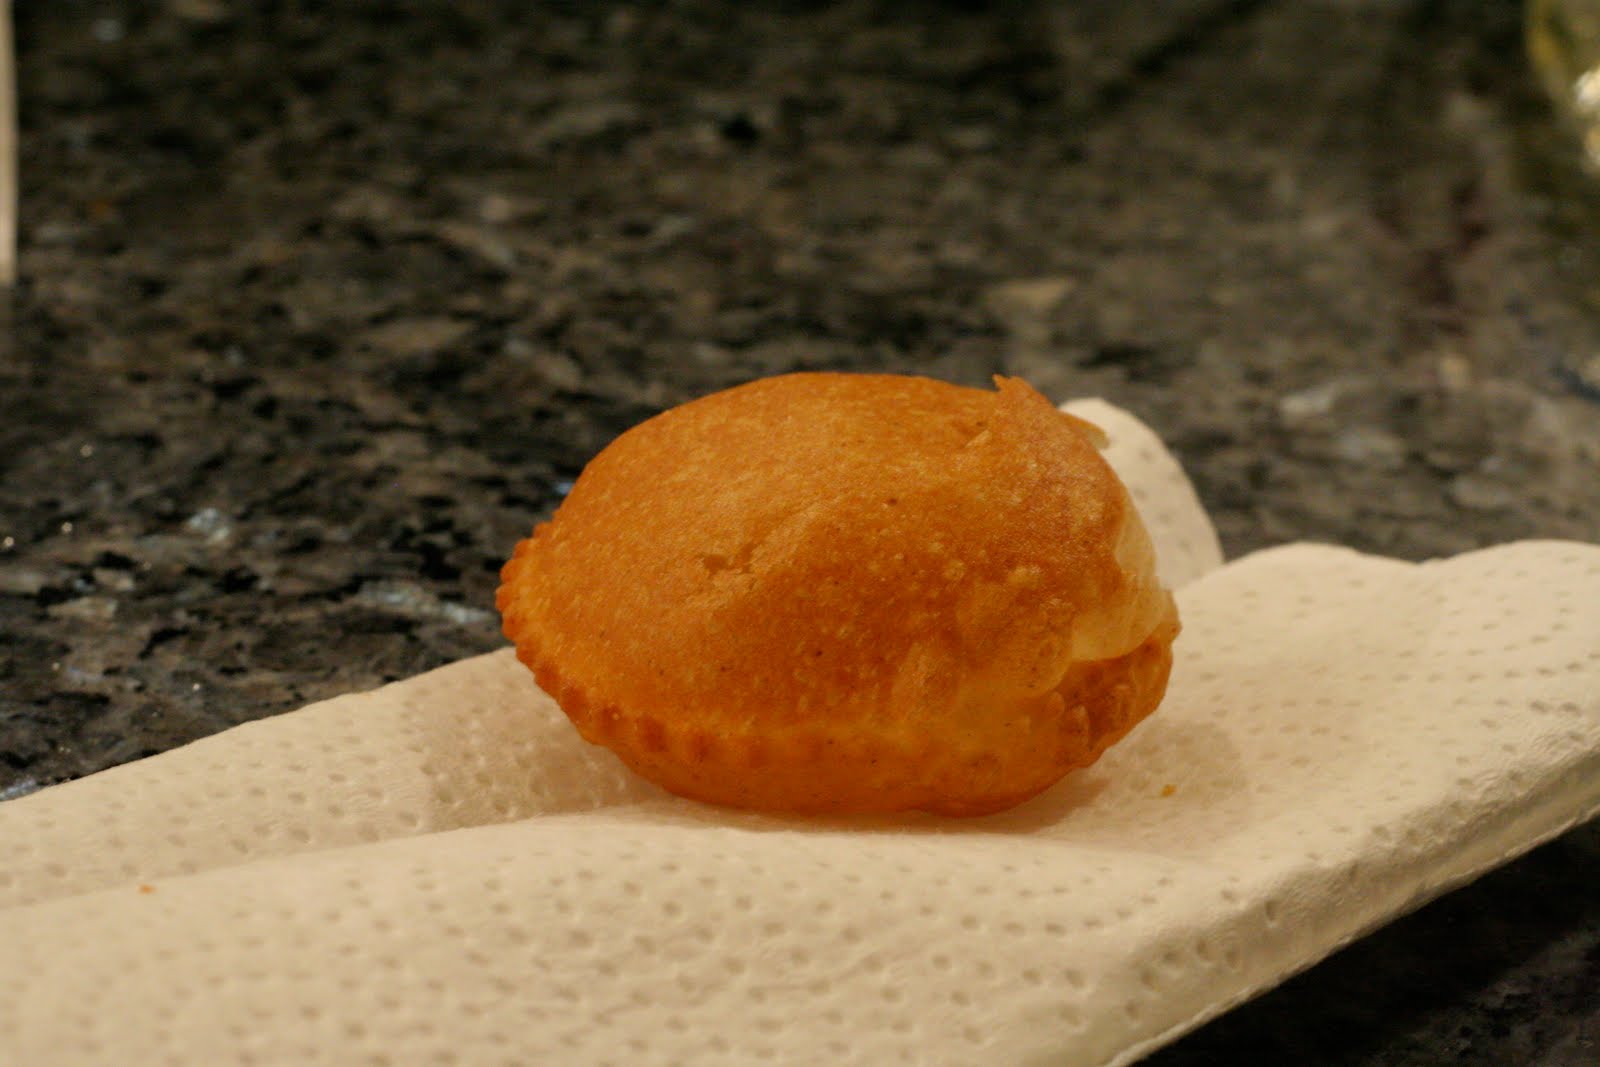
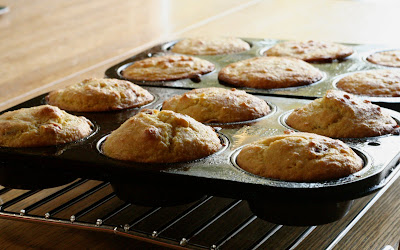
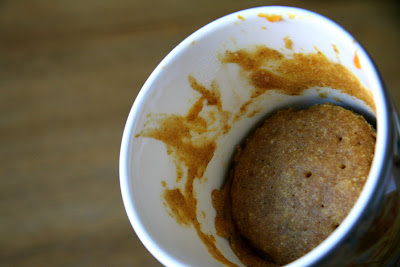
Then puff!  Boom.  Its huge.  Like 2 inches tall.

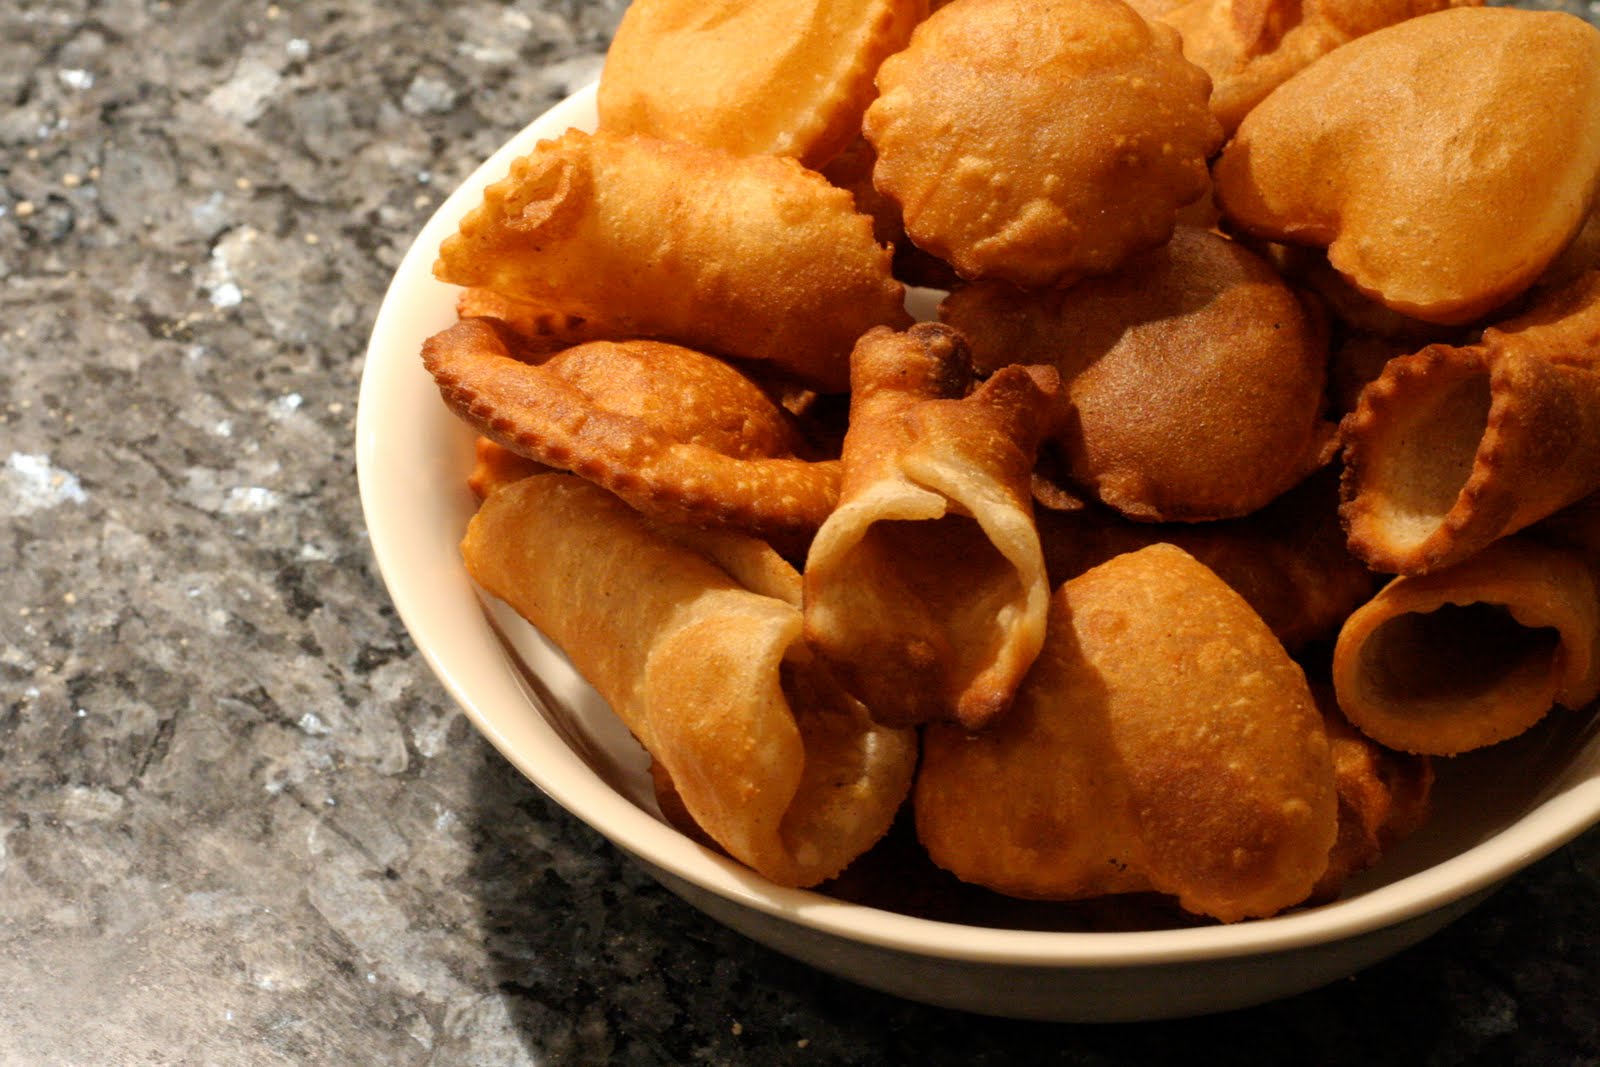
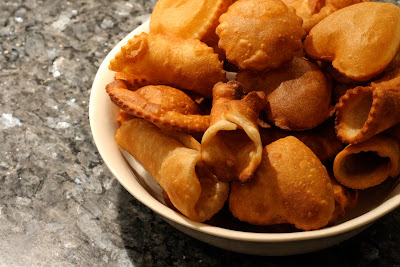
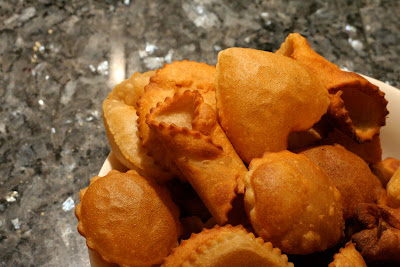
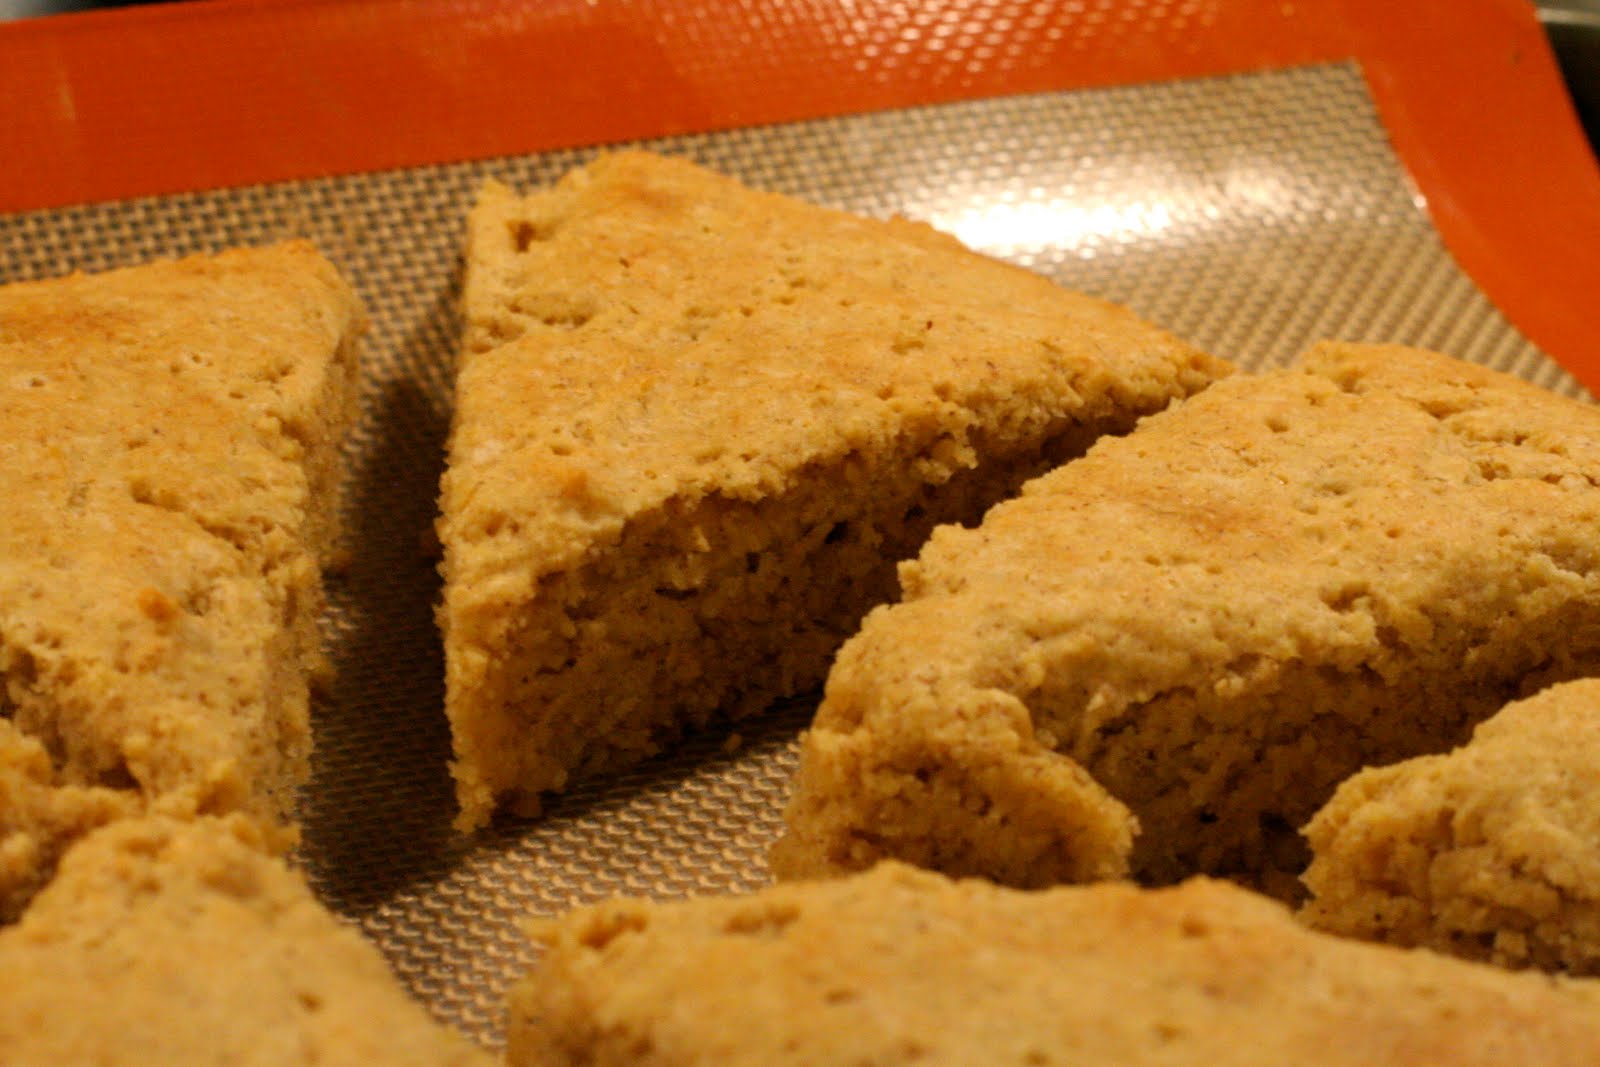
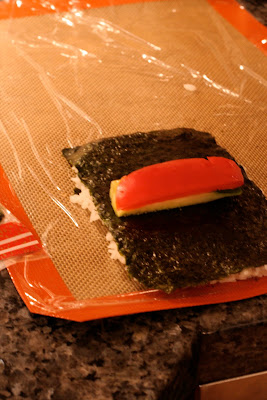
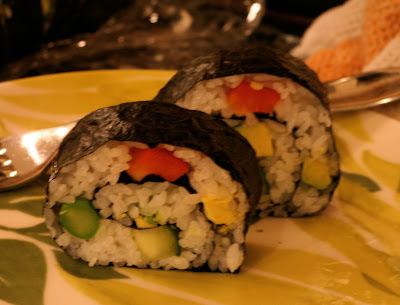
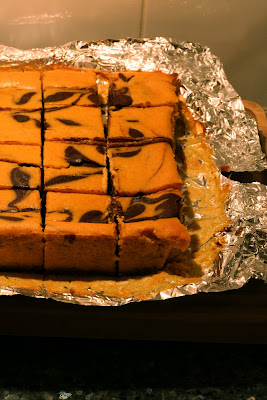
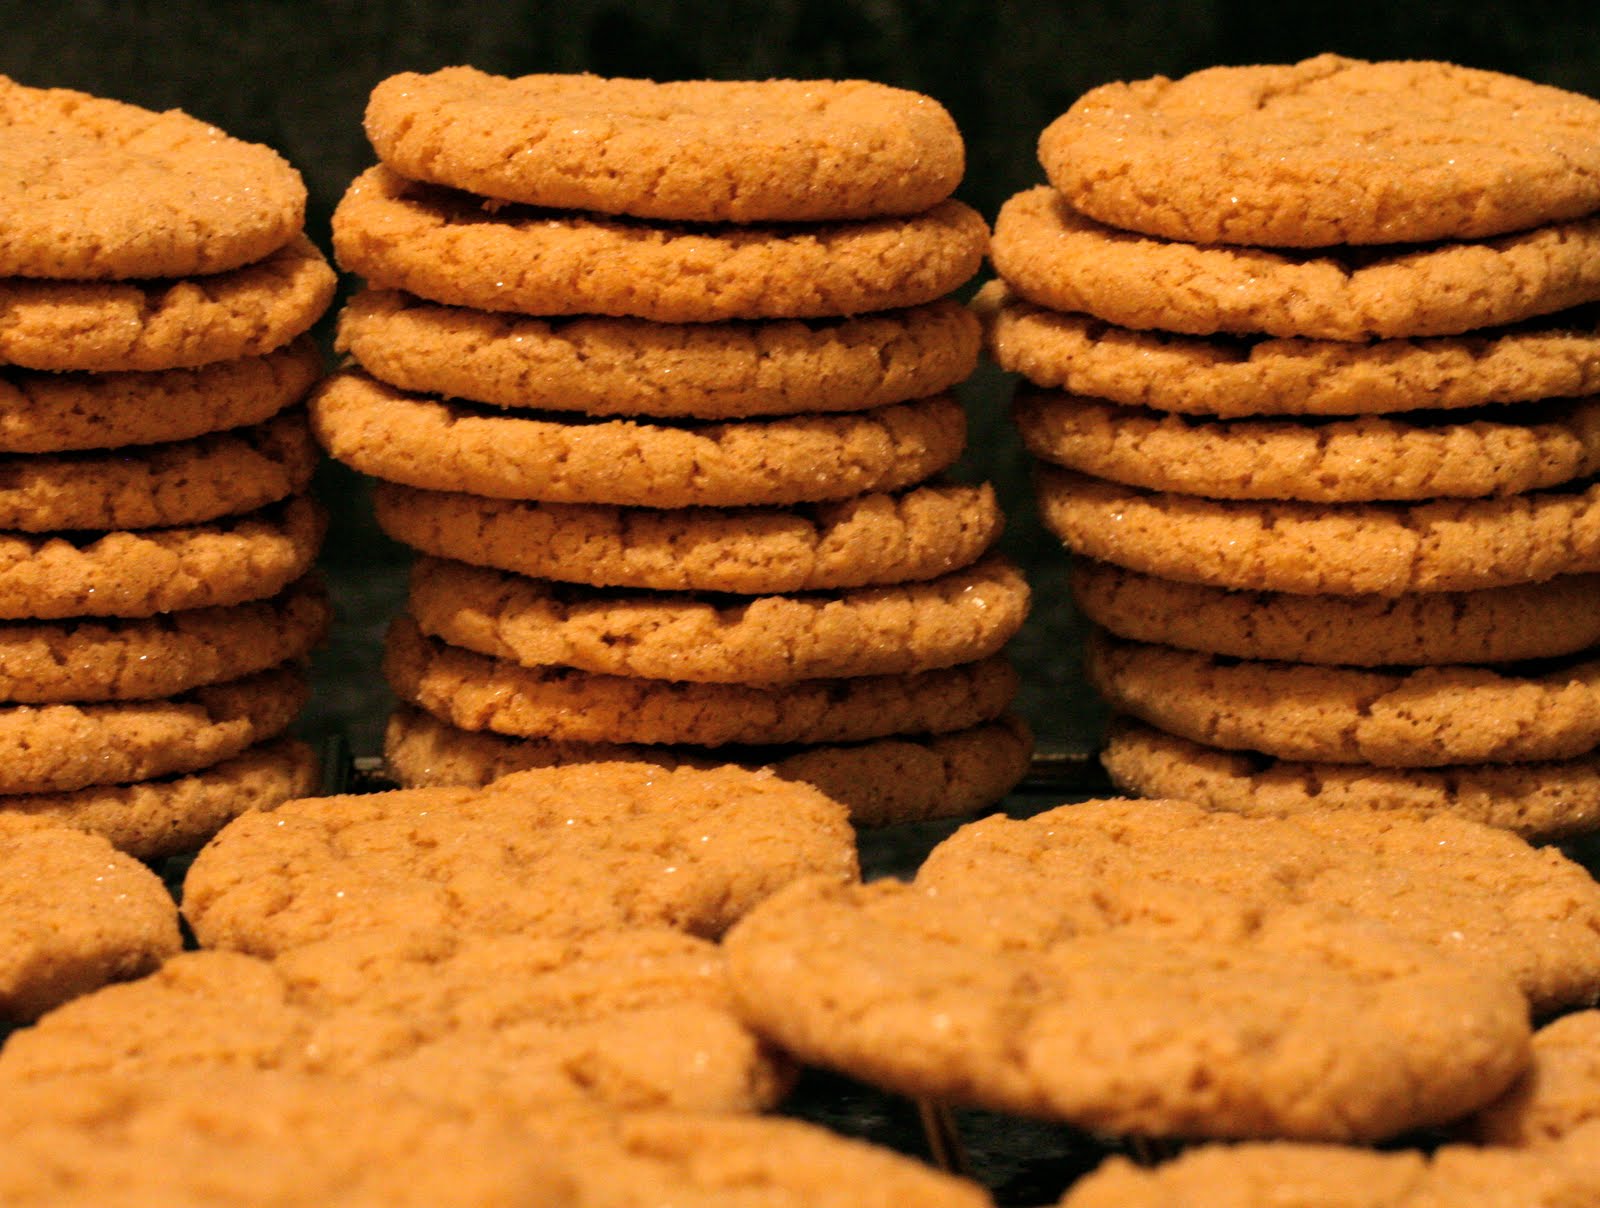
Then all the shapes chill out in the bowls.  I see spaceships, hearts, suns, and of course cannoli (tubes)!

They're just so darn cute.  And evil.  But mostly cute.

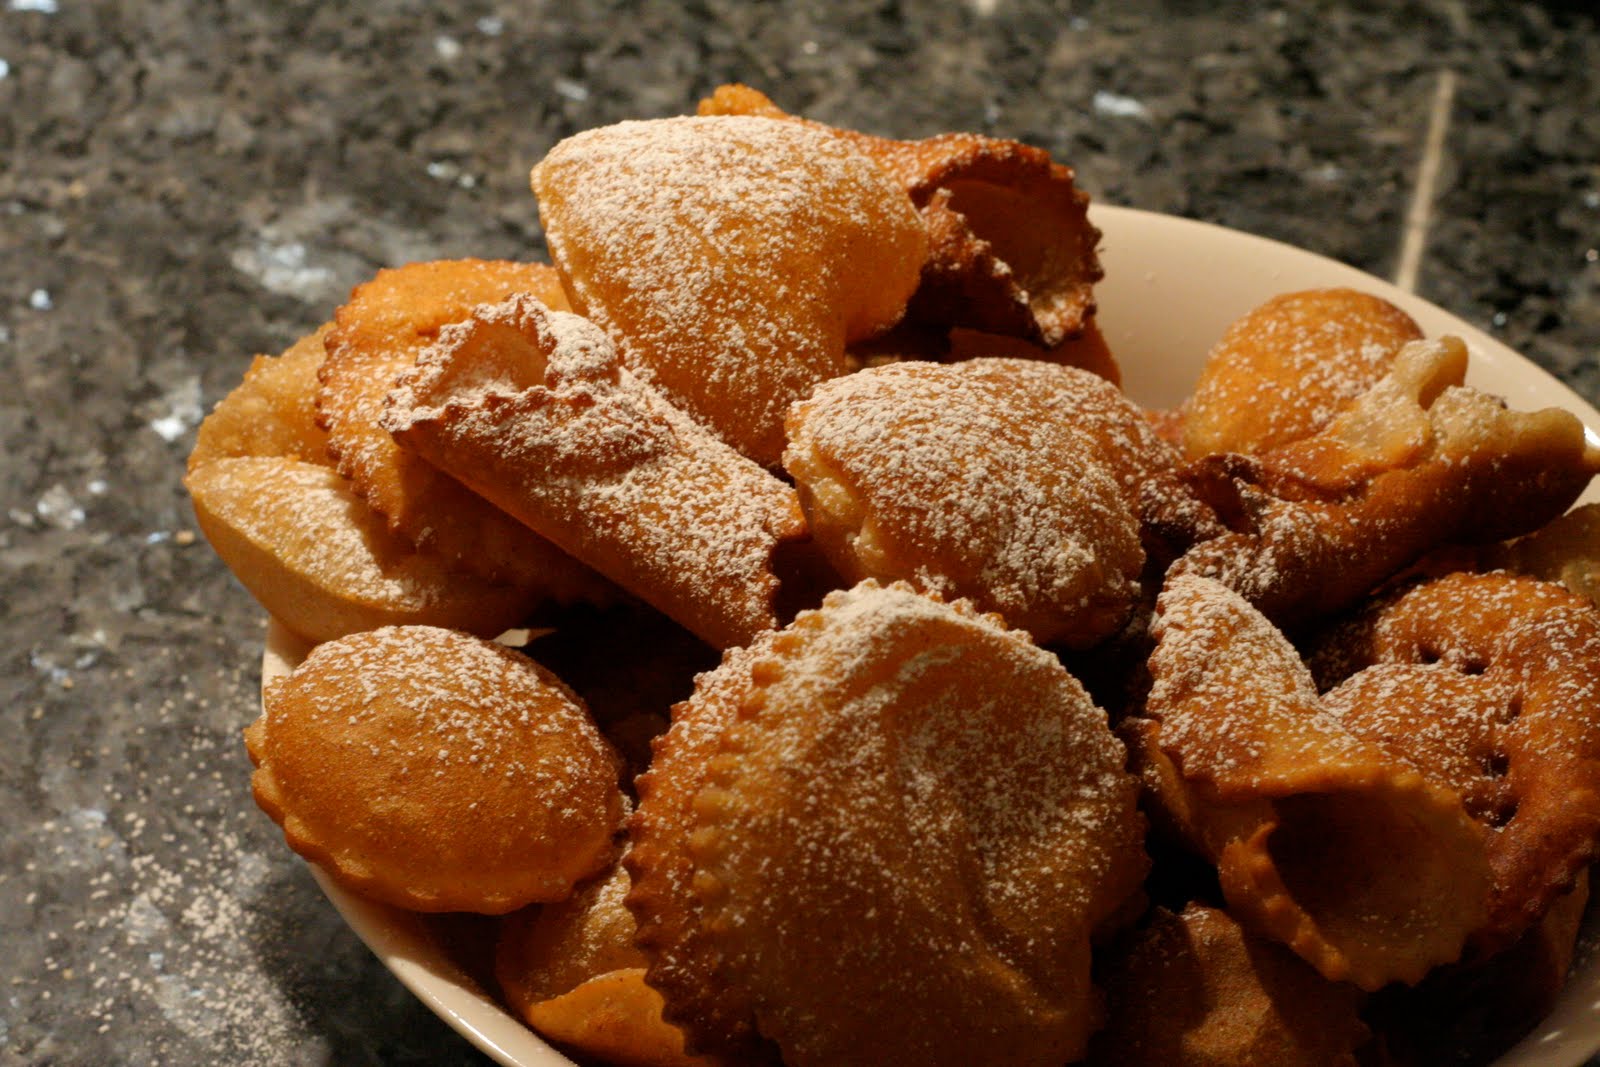
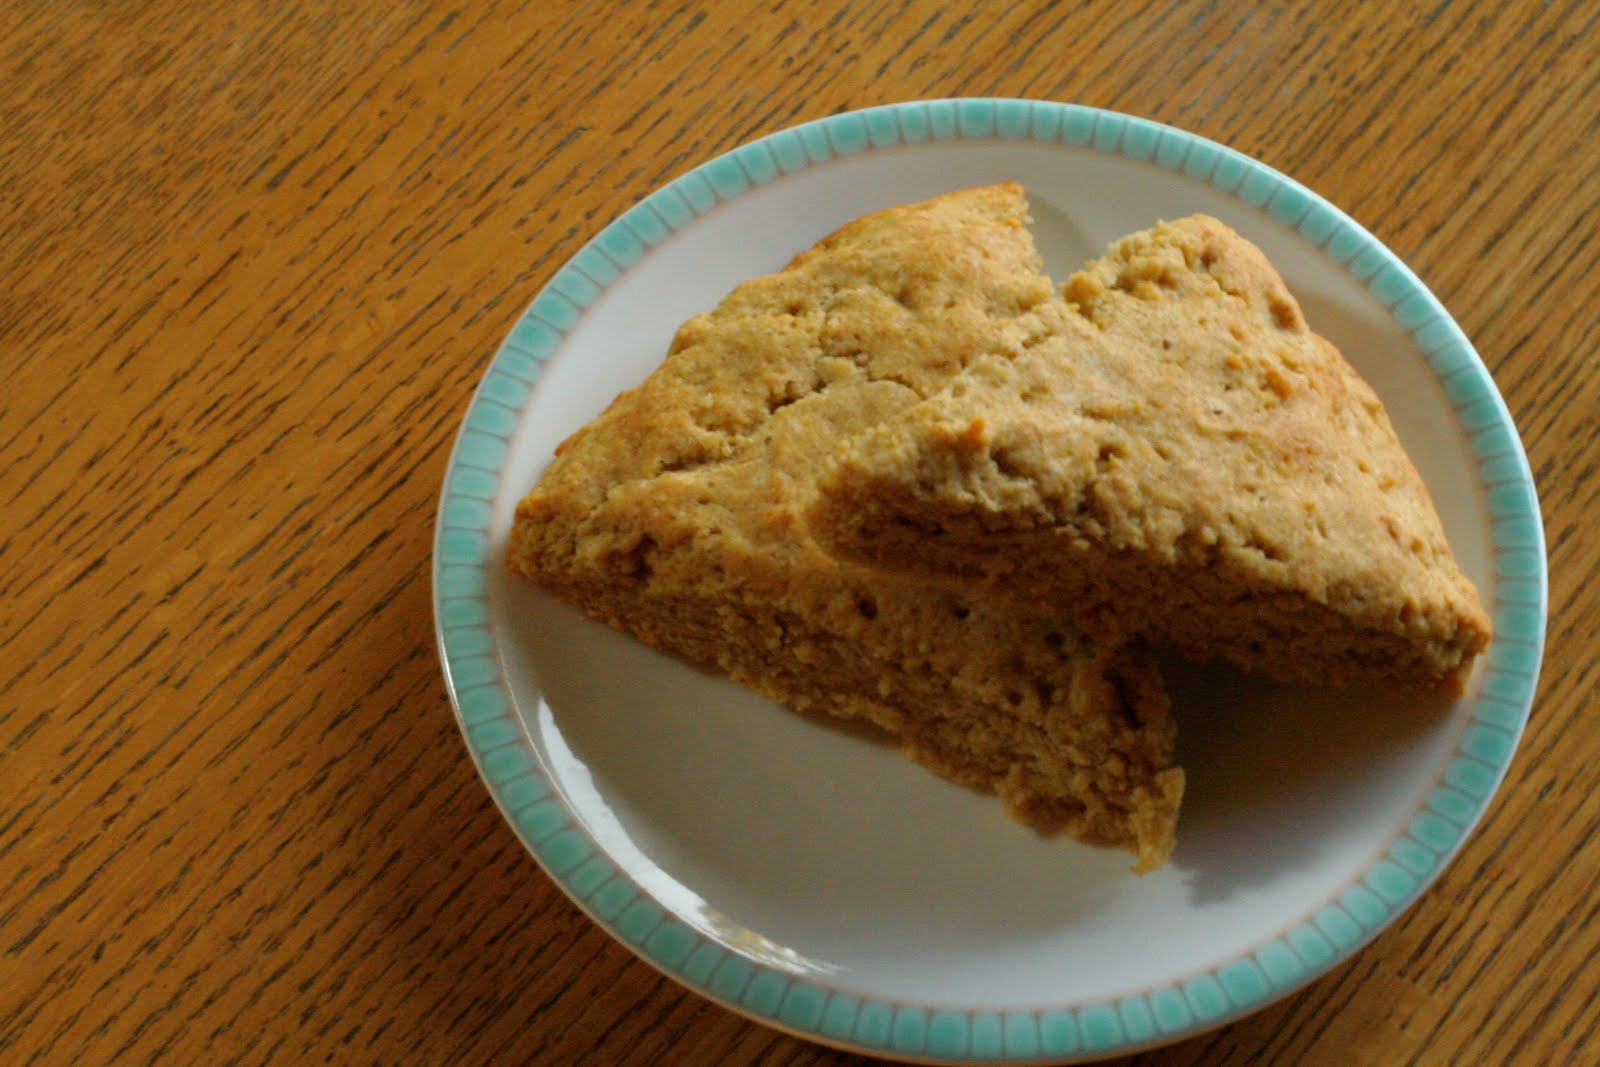
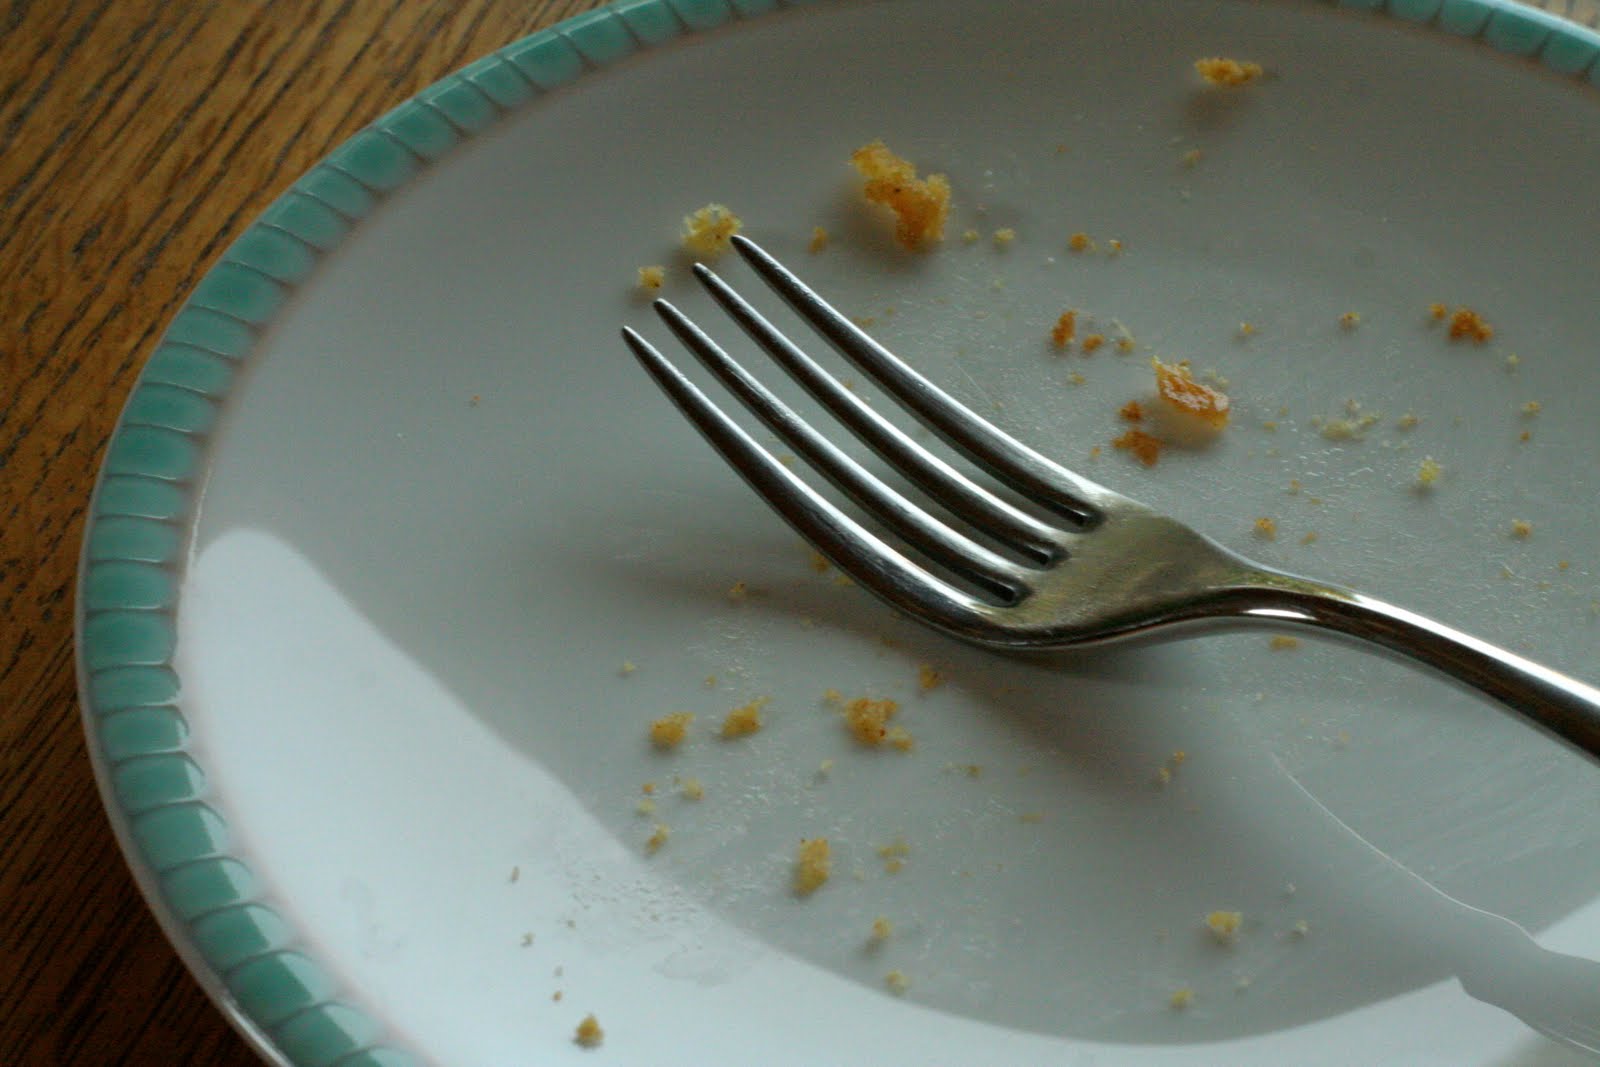
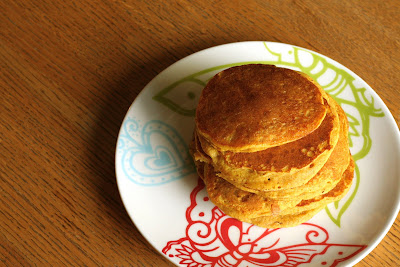
Sprinkle of icing sugar, and there you go.  Eat, enjoy, have heartburn, whatever works for you!

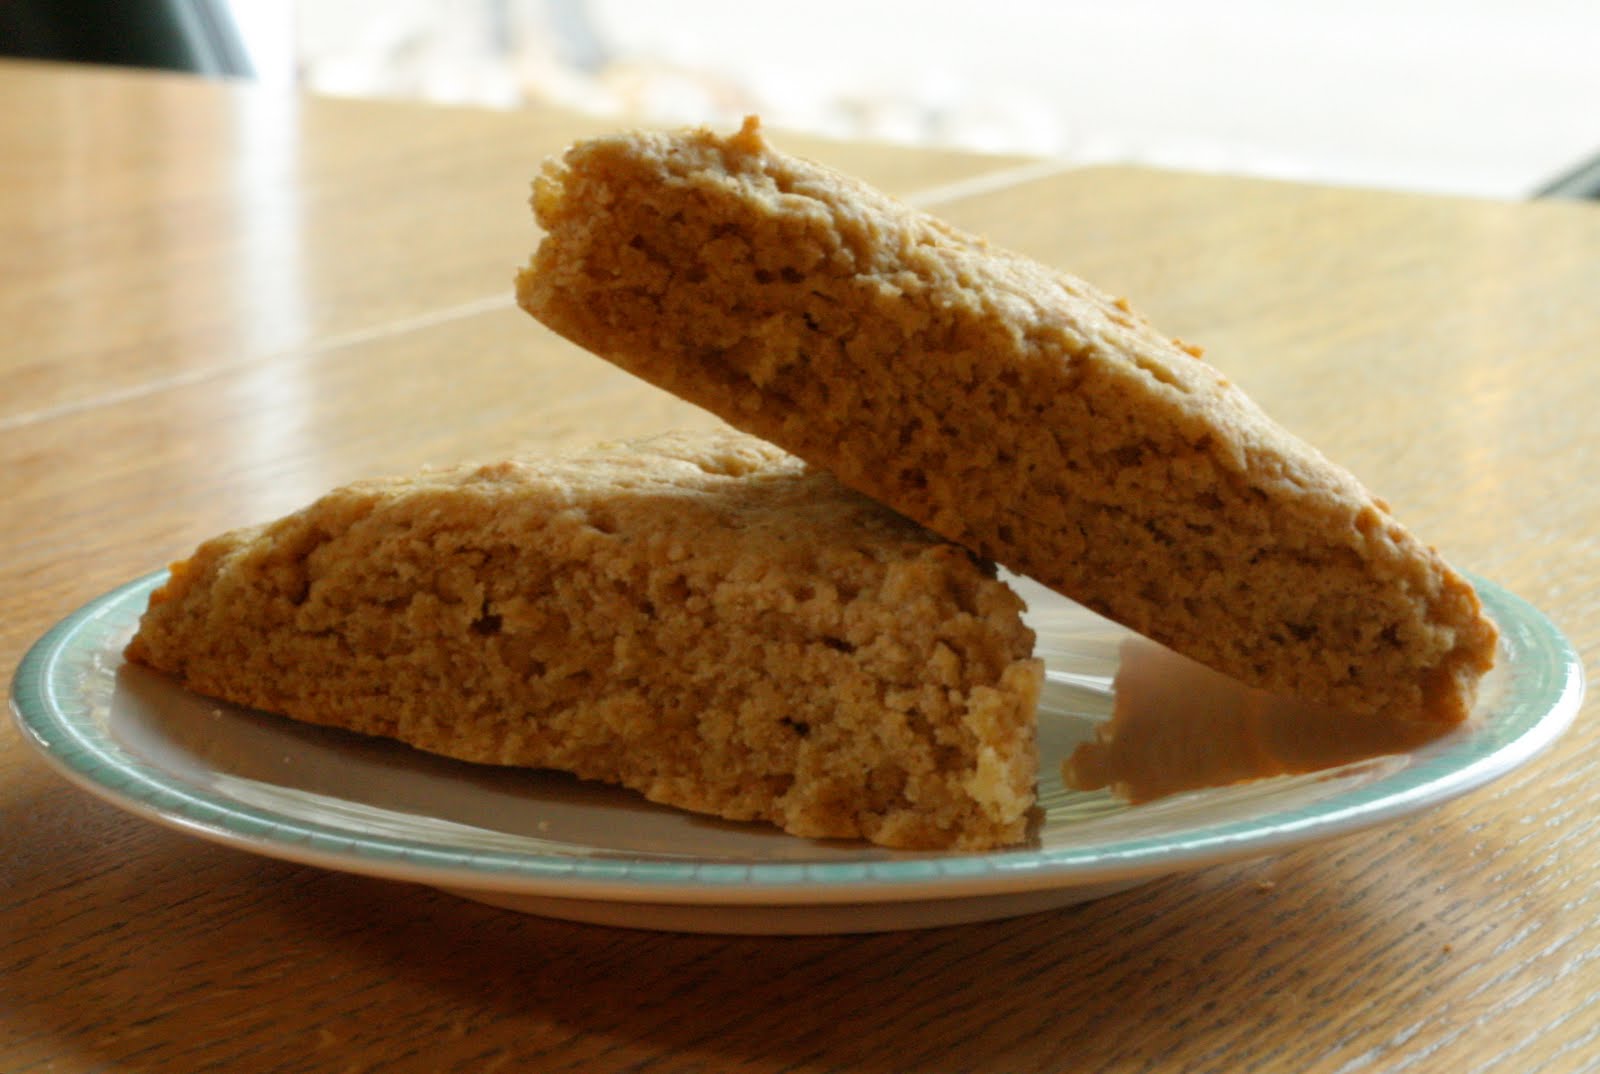
I used this cannoli recipe, just subbing 1 cup of sorghum for 1 cup of the brown rice flour, and adding a lot more liquid.  At least half a cup, maybe more.  Just so it came together, and wasn't a crumbly mess.  Because it was, for quite some time!  And there was a lot of kneading.  Lots and lots.  Gluten free baking can be so magical, because you never quite know if you're going to get what you first envisioned!

Thanks to Lisa Michele for this challenge!  I really did love it, even if the after effects weren't so great.

xoxo
Lauren

Follow me on Twitter.
Become a fan on Facebook.

Wednesday, November 25, 2009

Cinnamon Scones

Warm, fresh scones.  When I think of scones, I remember being 5 going to IKEA.  Don't you just love that store?  There is always something fabulous to be found!  Especially in the kids section.  Don't lie.  I know you've looked at all those adorable little beds and nightlights and chairs and whatnot.  (If not, what are you waiting for?)  Back to the scones, we were at the IKEA cafe/food place, and I simply could not decide.  What on earth was that white thing studded with berries that was shaped like a triangle?  Mom quickly informed me that that was a scone, and they are delicious, so I should try one.  Being a good little girl, I looked for a minute more, then listened to my mom.  I think she even got one too.  Man, was this good.  As I write this, I swear I can still smell that little scone.  Just the perfect blend of flavours, so delicate, yet sturdy enough for a 5 year old.

So while all of you in the States are enjoying your Thanksgiving, I'm going to be at school, dreaming of not those scones, but these ones.  Pure cinnamony goodness.  Warm, fresh and well, yummy!

This post is linked to Slightly Indulgent Tuesdays!

Cinnamon Scones
Adapted from About.
Ingredients
1/2 cup millet flour
1/2 cup sorghum flour
1/2 cup tapioca starch
1/4 cup sweet rice flour
1 tsp xanthan gum
1/3 cup sugar
1 tbsp baking powder
1 tsp cinnamon
1/4 tsp salt (if using unsalted butter)
1/2 cup butter, cold
2/3 cup milk
1 egg, slightly beaten
1 tsp vanilla

Steps
1. Preheat oven to 400 degrees Fahrenheit.
2. Blend together dry ingredients in a large bowl.  Cut in butter.
3. Mix milk, egg and vanilla in another bowl (I used the measuring cup).  Add liquid mixture to the dry mixture and stir until just moist.
4. Shape dough into an 8-inch circular loaf on a silpat or parchment paper.  Cut into 8 wedges and separate slightly (if possible, mine started to fall apart when I tried that).
5. Bake 15-20 minutes.
6. Let cool for awhile, cut into wedges along the cut lines and Enjoy!


I love watching things rise in the oven.  These ones actually cook fairly quickly, so its not boring ;D.

Just out of the oven, I love how peaceful they look.  Yes, I call food peaceful.

Now thats good.  Cinnamoniness, butter, and sugar.  With a tinge of sorghum.
I love sorghum.  Its got a great flavour and always adds something extra to baked goods.

Yum.

Breakfast, Brunch, Snack, Tea, Coffee, it works for everything.
Scones are magical like that.
And these ones are really light.

Where'd it go?  I swear it was their a second ago!

As I'm sure you've gathered, these are easy.  And yummy.  And quick.  And healthy (kinda).  Thats all I need in a recipe!

xoxo
Lauren

Follow me on Twitter.
Become a fan on Facebook.

Sunday, November 22, 2009

Glorious Gluten Free Grain Muffins

My dad loved these muffins.  Really loved them.  And of course, he had that tone.  You know the one - where he truly loves it, isn't just enjoying it or being supportive.  My brother on the other hand, came home after having a big dinner out and had one.  Then, he had another.  Then my dad (who had also been out) had one.  Yes, these are good.

They taste corn-ish without being only corn.  They're a light muffin with subtle notes of other flavours.  I'm thinking they will be regulars in my house.  Everything in it is always on hand, so I see many of these in our future.

When they were warm from the oven, I had one.  All I could think was Christmas morning.  Christmas morning means cornbread.  And butter.  And a hint of maple syrup.  Thats what I tasted the first time.  The next one I had, after they were room-temperature (one with cranberry), was a light muffin that wasn't overpowering, with undertones of fantastic flavours.  This morning when I had one, heated up, I didn't taste cornbread at all, just a delicious muffin with cranberries!

This post is linked to Slightly Indulgent Mondays at Amy's and What can I eat Thats Gluten Free? at Linda's.

Glorious Grain Muffins
Adapted from Recipe Girl.
Ingredients
1/3 cup sorghum flour
1/3 cup millet flour
1/3 cup tapioca starch
1/4 cup sweet rice flour
1 tsp xanthan gum
1/3 cup cornmeal
1/3 cup quinoa flakes
1/4 cup granulated sugar
2 tsp baking powder
1/4 tsp baking soda
1/4 tsp salt
1 cup buttermilk
1/3 cup pure maple syrup
2 large eggs
1 stick unsalted butter, melted and cooled
3/4 cup dried fruit and/or nuts (optional)

Steps
1. Center a rack in the oven and preheat oven to 400 degrees Fahrenheit.  Butter or spray 12 cups of a muffin tin.
2. In a large bowl, whisk together the flours, xanthan gum, cornmeal, quinoa flakes, sugar, baking powder, baking soda and salt.
3. In another bowl, whisk together buttermilk, maple syrup, eggs and melted butter.  Pour liquid ingredients over dry ingredients and, gently but quickly stir to blend.  Its fine of the batter is a bit lumpy.  Stir in the fruit or nuts, if using.
4. Divide batter evenly among the muffin cups and Bake 18 to 20 minutes, or until the tops are golden and a toothpick inserted into the centre of the muffins comes out clean.  Transfer the pan onto a rack and cool for 5 minutes.  Then, carefully lift each muffin out of its mold onto the rack to cool.
5. Enjoy!


I made half with the dried cranberries and half without.  The ones with happened to rise much more.
Maybe they just had more batter =D.

Light and great!


Yum!  Time to eat  =D.

Its plain and simple, they're good.  Thats about all I have to say.

xoxo
Lauren

Follow me on Twitter.
Become a fan on Facebook.

Wednesday, November 18, 2009

Maple (Gluten Free) Snickerdoodles

Food as a gift. Such a fun idea. And even more, such a great way to spread the joy! When I think of giving food, my mind goes directly to bark. Chocolate, peppermint, anything. Made by my best friends mom. I remember standing in their kitchen as she made it (it was almost done), and playing with my friend. This must have been 5 (okay, maybe 10) years ago, but I remember it like it was yesterday.

When I mentioned gifts of food to my mom, she immediately said cookies. As soon as she said that, there was no going back. Of course! Cookies - such a prominent figure in holiday food. And then there is the most important part - The cookie tin. The vessel that transports these delicious concoctions from their hands to yours. Or yours to theirs. Over the years, we've had many cookie tins. Currently, most of them are stuffed with cookie cutters (very fitting, if I do say so myself).

I've always admired these cookies from afar.  Yes, that doesn't make sense.  But I've never had snickerdoodle cookies.  They somehow managed to sneak under my radar, even though they contain some of my favourite flavours.  Of all time.  Cinnamon.  I use it everywhere!  Yogurt, quinoa flakes, everywhere.

Then there's the maple.  I love maple.  How could you not?  Although snickerdoodles traditionally don't have it, this recipe looked amazing, and when the cookies came out I knew I had a good one.  The maple is just hidden there - aiding the heavier flours of sorghum and millet work flawlessly.  Or at least I love 'em =D.

These cookies are my entry into Holiday Food Fest's Edible Gifts portion!  Its hosted by Phoebe.  This will also be my contribution to Linda's What Can I Eat thats Gluten Free? where she mentioned my Pumpkin Pancakes!  Thanks Linda =D.  They're also linked to Hoosier Homemade's Cookie Exchange.

Maple Snickerdoodles
Adapted from The Busty Baker. Makes about 3 dozen.
Ingredients
1/4 cup tapioca flour
1/2 cup millet flour
1/2 cup sorghum flour
1/2 cup sweet rice flour
1 tsp xanthan gum
1 1/2 tsp baking powder
1/2 tsp baking soda
1 1/2 tsp cinnamon
1/4 tsp salt
1/2 cup unsalted butter, softened
1 cup granulated sugar + some for rolling
3 tbsp maple syrup
1 egg

Steps
1. Preheat oven to 350 degrees Fahrenheit.
2. In a medium bowl, sift together flours, xanthan gum, baking powder, baking soda, cinnamon and salt.
3. In a large bowl, cream butter and sugar together, until light and fluffy.  Beat in egg and maple syrup until combined.  Add dry ingredients.  Beat until mixed.
4. Roll dough into 1-inch balls.  Roll each ball in sugar and place on baking sheet 2 inches apart.
5. Bake until tops are crackly, about 8 to 10 minutes.  Remove from oven and leave on cookie sheets to cool for a few minutes.  Transfer cookies to wire rack and cool completely.
6. Enjoy!

Simple as that!  And they're all ready to package and give away, or keep for yourself.  I promise I won't tell!

Aren't they cute?  Just tiny little balls of sweetness!


And when baked.  Yum.  Make sure you let them cool enough on the pan, or they might not come off too beautifully...


Try a bite, to make sure they're good ;D


I asked my brother what he thought of these, and he said that they were really good, but when I suggested giving any away, he flipped, saying how bad these were and that I should make another batch ;D.  Its always a good sign when they don't want to give any away.

xoxo
Lauren

Follow me on Twitter.
Become a fan on Facebook.

Saturday, November 14, 2009

Daring Cooks: Sushi

The first time I had Sushi, was in grade 7. At school. It wasn't very good, or at least I convinced myself that was the case. Sort of slimey, and very very cold. Not my cup of tea. Had't tried it since.

This month's Daring Cooks challenge was to make Sushi. I was a little weary of this. Okay a bit more than a little. And I almost forgot about the challenge! Honestly, I didn't mean to - the month just got away from me - sprinted in fact. But because Audax and Rose were hosting, I knew I couldn't miss it! Audax is super-ambitious in all Daring Challenges. He makes a billion variations of each type - and becomes an expert in the process. And Rose is so sweet! Always egging people on, and displaying her gorgeous photos =D. Obviously, I cared. Plus, I've participated in every Daring Cooks challenge ever so I couldn't stop now.

The November 2009 Daring Cooks challenge was brought to you by Audax Artifex and Rose of The Bite Me Kitchen. They chose sushi as the challenge.

Onto the pictures!
Draining the rice. For the 5th time. You are so jealous.
Okay! Now we're having fun. I'm already dreaming up the parties. Maybe a movie while the rice cooks, and then when its over, we'll all race into the kitchen, pull out the cutting boards and get chopping. Then, everyone will watch in amazement as I roll up the sushi. And then they'll all try, and inevitably one of theirs will be worlds better than mine. That's half the fun though, right?

Oh, and incase you were wondering, that is red pepper and cucumber filling.
Its a dragon roll! Are you running for cover?
I'm seeing the Joker. 2 cucumbers = eyes. Red pepper = mouth.

You see it too? No? Okay, onto the next one!
Nigiri I think. Known to me as Rice + Topping.
My favourite. The one with all the flavours of course!
Lets see... starting at the top, we've got avocado, red pepper, asparagus, cucumber, and more avocado!
Yipee! It worked! It looks good. And tastes even better!
See? Yum.

This was wonderful! I learned so so very much, and dare I say...

I liked it.

Thanks again to Audax and Rose! Naturally gluten free challenges are the best! To those who haven't tried - please do! This actually made me like sushi. I've been running for years. Not that dramatic, but still... Try it!! The recipe can be found on Audax's site or at the Daring Kitchen!

I'm thinking I'll have to try out some more flavours in the nearer than you think future...

xoxo
Lauren

Follow me on Twitter.
Become a fan on Facebook.

Wednesday, November 11, 2009

Lighter than Air Pumpkin Pancakes

This week in Holiday Food Fest is all about Thanksgiving and Fall dishes, hosted by Alta. I had the idea of mine all ready to go. Today, being Remembrance Day, I don't have school, so I made pumpkin pancakes for breakfast. And they were amazing. I couldn't not share. Plus, its a fall dish - a breakfast one! Seriously, these are heaven. So light, just pumpkiny enough, just enough spice, just enough everything. They're satisfying without being full and heavy. I've made other pancakes, which I thought were light, but these are no comparison. They might just float away.

And there's the butter. Melted butter inside the pancakes. I only buttered the pan for the first one. They didn't need it. The butter came from within, giving every bite a hint of butter flavour, without any weight. Seriously, how light these were shocked me. They are fairly thin pancakes, but have such an airiness to them.

Anyways, before I start to bore you with how light they were, here is the recipe, so you can experience them for yourself! This post is also linked to What Can I Eat Thats Gluten Free? and Fishmama's Ultimate Recipe Swap. [update: and Slightly Indulgent Tuesdays].

Pumpkin Pancakes
Adapted from Martha Stewart.
Ingredients
1/3 cup sorghum flour
1/3 cup millet flour
1/3 cup tapioca flour
2 tbsp sugar
2 1/2 tsp baking powder
1/2 tsp cinnamon
1/2 tsp ginger
1/2 tsp salt
1/8 tsp nutmeg
pinch cloves
1 cup milk
6 tbsp pumpkin puree
2 tbsp melted butter
1 egg

Steps
1. Whisk flours, sugar, baking powder, salt and spices together in a large bowl.
2. In a separate bowl, stir together remaining ingredients.
3. Fold liquid mixture into dry mixture.
4. Melt some butter in a skillet over medium heat.
5. Pour 1/4 cup batter for each pancake. Cook about 3 minutes on each side (I deceased this the more I cooked. The last ones were 1 1/2 minutes each side).
6. Enjoy!

I'm melting staring at these photos. There might be some left upstairs!

Okay, I'm back. Yes. I did just race up to the kitchen.
And for your information, they do taste good cold.

Seriously, how could you not love these?

And while I still have your attention, there are 2 little things.

The ebook is ready! Amy's ebook to raise money for St. Jude's Children's Hospital is ready! In other words, go get it. How much you donate is completely up to you! The recipe I submitted was Worms and Dirt. Just so you know, all of the recipes are kid friendly, so if you have kids (or like to let you inner one shine through), I would definitely suggest grabbing a copy.

Today is Remembrance Day. Thank you to all that have fought for Canada. You are so very brave, and I am grateful for your sacrifice. May there not be any more wars that require fighting. My Greatgrandpa and my Grandpa were soldiers in the First and Second World Wars respectively.

When my Nana was a child and asked what my Greatgrandpa did in the war, he always said the same thing "I would stand on the roofs in Paris, catch the bombs and throw them back." Yes, I'm sure thats not what he actually did, but it's definitely a description I will never forget.

Lest We Forget,

xoxo
Lauren

Follow me on Twitter.
Become a fan on Facebook.

Monday, November 9, 2009

Pumpkin Chocolate Swirl Cheesecake Bars

Say hello to my first grain free experiment. Before your mind wonders, this is not a "eww" or "yuck" experiment. No. This is a "I think I'm dreaming, somebody pinch me, ouch! That hurt, What'd you do that for?" experiment. It's hunger-curing deliciousness. I had thought about sharing these at school (before I made them of course), but when they were done, I couldn't let go. So, I'm sharing them with you. That way I don't actually have to share.

This, in all of its goodness will be my entry into November's Go Ahead Honey, It's Gluten Free event, hosted by none other than the amazing Elana of Elana's Pantry. This month is all about grain-free cakes and cupcakes. And since these are cheesecake bars, it's a perfect fit! This post is also linked to Slightly Indulgent Mondays and Friday Foodie Fix!

I saw this recipe on Playing House, which is written by Amy, and although she's not gluten free, she is a sweetheart, and her photos are always gorgeous. After seeing this recipe, I filed it away in the depths of my brain. When I had lots of pumpkin leftover from making a good amount of 3 minute cakes, this came to mind (and saved all of that innocent pumpkin)! Also, the recipe wasn't filled to the brim with flour, so I figured it would be a good first attempt at grain-free baking. And boy was I right.

Its got everything a girl could want: pumpkin, cheese, chocolate, almonds, seasonal spices, and of course, a friend providing the recipe. And I'm going to return the favour. So now you've got to make these. Seriously, go. It requires a bit of waiting, so I'd recommend having a strategically placed snack after popping these in the oven. I ate some cheese. I guess it was on the brain...

Pumpkin Chocolate Swirl Cheesecake Bars
Adapted from Amy at Playing House.
Crust Ingredients
100g almond meal (about 1 cup)
2 tbsp sugar
4 tbsp unsalted butter, melted
1 tsp cocoa powder

Filling Ingredients
2 8-ounce blocks cream cheese, softened
1 cup sugar
1 cup pumpkin puree
3 large eggs
3 tbsp almond meal
1/2 tsp cinnamon
1/4 tsp ginger
1/8 tsp nutmeg
dash cloves
1/2 tsp salt
4 ounces semisweet chocolate

Steps
1. Preheat oven to 350 degrees. Line bottom and sides of an 8 inch square pan with tin foil or parchment paper, leaving an overhang on all sides.
2. Combine all crust ingredients until uniform. Press into pan and bake 12 to 15 minutes, until slightly firm. Set aside to cool.
3. Place softened cream cheese in food processor and blend until smooth. Add sugar, pumpkin, eggs, almond meal, spices and salt. Process until combined. Set aside.
4. Place chocolate in microwave safe bowl and microwave in 30 second increments, stirring between each, until melted. Add one cup of pumpkin mixture and stir to combine. Set aside.
5. Pour remaining pumpkin mixture into prepared pan. Drop dollops of chocolate mixture onto pumpkin mixture and swirl with a butter knife. Bake until cheesecake is set, but jiggles slightly when gently shaken, 40 to 50 minutes.
6. Cool in pan. Cover and chill until firm, at least 2 hours (up to 2 days). Using overhang, transfer cake to work surface. Using a knife dipped in hot water (and dried), cut into 16 squares.
7. Enjoy!

Note: I buy my almond meal in 100 g packages from my local grocery store, and used the whole thing. If you don't, just use one cup - its basically the same thing.


My chocolate sunk under the pumpkin a bit. There is a lot more chocolate than you can see.

I promise.

I love the subtle swirls. Makes the blast of chocolate so much more exciting!

Lots of little squares. Tiny little squares. 2 by 2 inches each.

Oh no. Now I want one again. I just finished this ^ one...
and half of another one.


They're light, yet rich. Pumpkin-y yet subtle. Seriously good. And its hard to eat more than one (okay, two...) portions because of the richness, so it stays around for awhile. This is good. Very good.

xoxo
Lauren

Follow me on Twitter
Become a fan on Facebook

Wednesday, November 4, 2009

The Super Fast Gluten Free Pumpkin Cake!

Picture your perfect Thanksgiving. Maybe you're at your Grandma's surrounded by family. Maybe you're at home curled up by the fire. Maybe you're boarding a plane to some far off paradise. For me, Thanksgiving has come & gone. It was wonderful - We went over to family friends house, and with 2 other families, enjoyed the meal. Although it is a holiday I enjoy, Christmas takes the cake - its when family is never more than a few meters away and everyone is happy. We're grateful for what we have, and oh so excited to give. And of course there are presents, and how can you go wrong with that?

But before I get ahead of myself, Fall has barely begun, let alone finished! That means that pumpkins, sweet potatoes and cranberries are still making up the majority of our meals. Or at least our baking.

And since Christmas is a little ways out and having an over-abundance of sweets isn't always the best thing right after Halloween (you still have candy, right?), I present to you the perfect fall dessert. Or snack. Or maybe even breakfast.

You know all of those 3 minute chocolate cakes that have been floating around? Well, I've got a 3 minute pumpkin cake. Thats gluten free. It even cooks in a mug. In the microwave. Could not be simpler. Or more festive. Or more easy to hide the evidence. Plus, its only the size of a muffin, light, healthy and well, delicious!

Whoops! Almost forgot to mention the "real reason" I'm sharing this with you - not that I need a reason or anything! This is my entry into the first week of Holiday Food Fest. This week is all about Thanksgiving or Fall Desserts, and is hosted by Hoosier Homemade. Every week there will be a giveaway, so don't miss out! (Next week is Thanksgiving or Fall Dishes). This is also linked to Slightly Indulgent Mondays!

Lauren's 3-minute Pumpkin Cake
An original recipe by Lauren of Celiac Teen.
Ingredients
1 tbsp sorghum flour
1 tbsp millet flour
2 tbsp sugar
1/4 tsp cinnamon
dash of nutmeg
2 tbsp pumpkin
1/2 egg
1 tbsp oil
1/4 tsp vanilla

Steps
1. Get out your favourite large mug. Just be sure its microwave safe.
2. Combine all dry ingredients in your mug.
3. Stir in the wet ingredients (I did it one at a time, to avoid clumps).
4. Microwave for 3 minutes on high.
5. Don't open the door. Let it cool for a couple of minutes. It'll still be very warm when you eat it!
6. Enjoy!

Note: Microwaves may vary, so adjust time if needed.
Note 2: Yes, that is 1/2 an egg. I use the boxed eggs for this, but other wise, take your egg and whisk it for a bit, and use 1 tbsp and 2 tsp of egg. This makes it really easy to make two mugs worth!


I love this antique-ified photo =D.

It actually looks like this. Just enough pumpkin colour and flavour... yum.

You know you want some.

Yes. You really do.

As you may know, I recently joined twitter. I'm enjoying it, so I decided to also join Facebook. So now you can become a fan on Facebook and receive blog updates. I would really appreciate it if you would follow me or become a fan, because I'm new to both and really want to connect with you!

Speaking of connections, feel free to email me with any questions or thoughts, as long as you keep it positive (and spam-free) =D.

xoxo
Lauren

Follow me on Twitter.
Become a fan on Facebook.