This was the perfect way to cap off this month. No question.
Well, I had some questions before I started. We were making cheese after all! Then, many other parts and coffee. I'm not a fan of coffee. But I do love tea. There has been some Chai in my house recently, so I decided to make a Gluten-Free Chai Tiramisu. Oh yes. It is as fantastically delicious as it sounds.
The February 2010 Daring Bakers’ challenge was hosted by Aparna of My Diverse Kitchen and Deeba of Passionate About Baking. They chose Tiramisu as the challenge for the month. Their challenge recipe is based on recipes from The Washington Post, Cordon Bleu at Home and Baking Obsession.
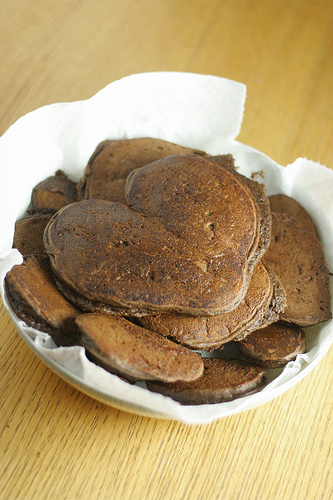
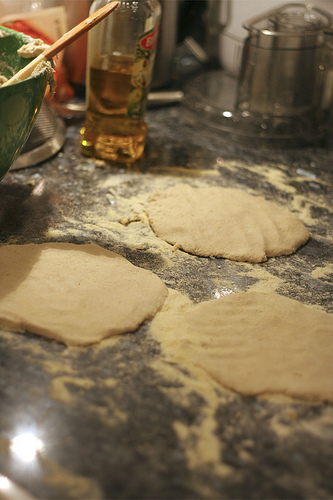
Although don't typically post the challenge recipes, this one I have to share. But the Ladyfingers, they deserve their own post. Watch for that this week. I've already made 2 batches. One for the tiramisu and one just for cookie eating =D. But don't worry, you can still scroll down for pictures. Lots and lots of pictures.
Gluten-Free Chai Tiramisu
Adapted from the February 2010 Daring Bakers Challenge by Lauren of Celiac Teen.
Ingredients
For the zabaglione:
2 large egg yolks
3 tbsp sugar
1/4 cup brewed Chai tea
1/4 tsp vanilla extract
1/2 tsp finely grated lemon zest
For the vanilla pastry cream:
1/4 cup sugar
1 tbsp millet flour
1/2 tsp finely grated lemon zest
1/2 tsp vanilla extract
1 large egg yolk
3/4 cup whole milk
For the whipped cream:
1 cup chilled heavy cream
1/4 cup sugar
1/2 teaspoon/ 2.5ml vanilla extract
To assemble the tiramisu:
2 cups brewed Chai tea, warmed
1/2 cup sugar (or less, the tea doesn't need as much as the espresso)
1/3 cup/75gms mascarpone cheese
36 savoiardi/ ladyfinger biscuits (you may use less)
2 tablespoons unsweetened cocoa powder (optional)
Steps
For the zabaglione:
Heat water in a double boiler. In a large mixing bowl, mix together the egg yolks, sugar, the Chai tea, vanilla extract and lemon zest. Whisk together until the yolks are fully blended and the mixture looks smooth.
Transfer the mixture to the top of a double boiler. Cook the egg mixture over low heat, stirring constantly, for about 8 minutes or until it resembles thick custard. It may bubble a bit as it reaches that consistency. Let cool to room temperature and transfer the zabaglione to a bowl. Cover and refrigerate at least 4 hours or overnight, until thoroughly chilled.
For the pastry cream:
Mix together the sugar, millet flour, lemon zest and vanilla extract in a medium heavy-bottomed saucepan. To this add the egg yolk and half the milk. Whisk until smooth. Now place the saucepan over low heat and cook, stirring constantly to prevent the mixture from curdling.
Add the remaining milk a little at a time, still stirring constantly. After about 12 minutes (it really does take awhile!) the mixture will be thick, free of lumps and beginning to bubble. (If you have a few lumps, don’t worry. You can push the cream through a fine-mesh strainer or not worry about them.) Transfer the pastry cream to a bowl and cool to room temperature. Cover with plastic film and refrigerate at least 4 hours or overnight, until thoroughly chilled.
For the whipped cream:
Combine the cream, sugar and vanilla extract in a mixing bowl. Beat with an electric hand mixer or immersion blender until the mixture holds stiff peaks. Set aside.
To assemble the tiramisu:
Have ready a rectangular serving dish (about 8" by 8" should do) or round springform pan. Mix together the Chai tea and sugar in a shallow dish, whisking to mix well. Set aside to cool.
In a large bowl, beat the mascarpone cheese with a spoon to break down the lumps and make it smooth. This will make it easier to fold. Add the prepared and chilled zabaglione and pastry cream, blending until just combined. Gently fold in the whipped cream. Set this cream mixture aside.
Working quickly, dip 12 of the ladyfingers in the sweetened tea, about 1 second per side (I only did one side not both). They should be moist but not soggy. Immediately transfer each ladyfinger to the platter, placing them side by side in a single row. You may break a lady finger into two, if necessary, to ensure the base of your dish is completely covered. Spoon one-third of the cream mixture on top of the ladyfingers, then use a rubber spatula or spreading knife to cover the top evenly, all the way to the edges. Repeat to create 2 more layers, using 12 ladyfingers and the cream mixture for each layer (Mine only had enough for 2 layers, but my pan was pretty large). Clean any spilled cream mixture; cover carefully with plastic wrap and refrigerate the tiramisu overnight. (Or freeze, thats what I did with mine!)
To serve, carefully remove the plastic wrap and sprinkle the tiramisu with cocoa powder using a fine-mesh strainer or decorate as you please. Cut into individual portions and serve.
---
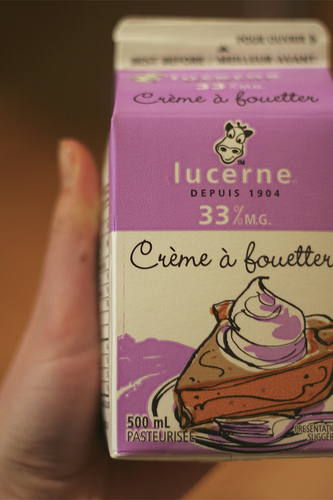
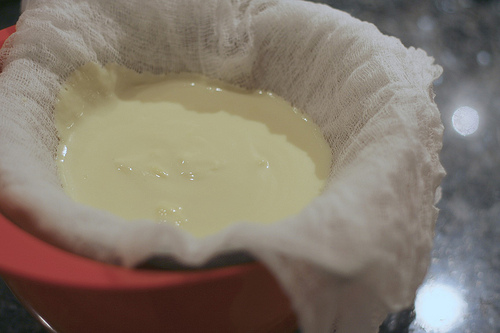
Mascarpone first.
Sure, I could be boring and show you the English side of the box of cream, but what fun would that be. I'm also trying *cough* to use a bit more of my French. I don't have very much. But I can read this!
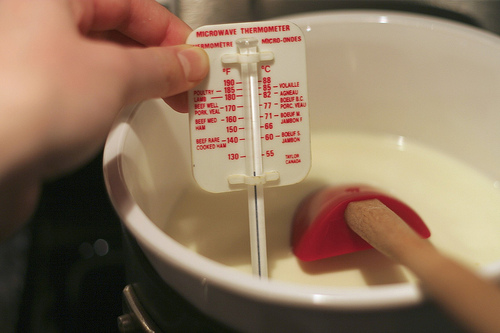
The microwave thermometer. I don't even know if it works when its not in a microwave. C'est la vie.
Did you catch that French? Thought so ;D.
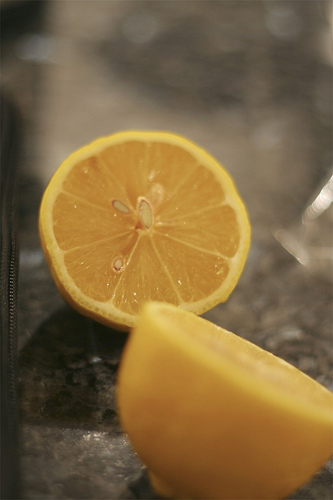
Lemons, for lemon juice, to change the chemistry of the whipped cream, allowing the buttery goodness of mascarpone to emerge.
But not now. Now, it must chill until morning.
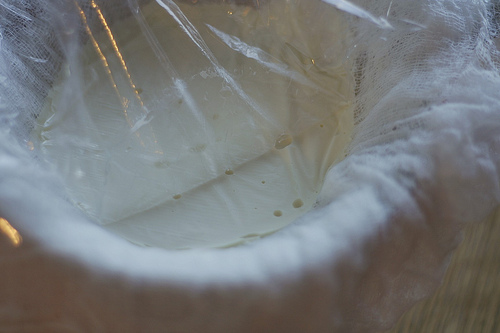
Ta da! Thick, fantastic and a wonderful addition to desserts and dinners alike.
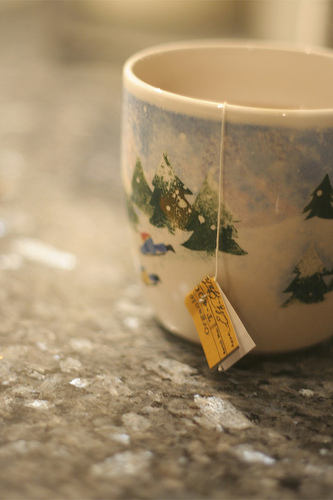
Another very important part: Tea, Chai Tea.
Its sort of like Bond, James Bond. And related to Bond, Hydrogen Bond. Yes, we watched a cheesy movie in Chemistry. You probably don't want to ask.
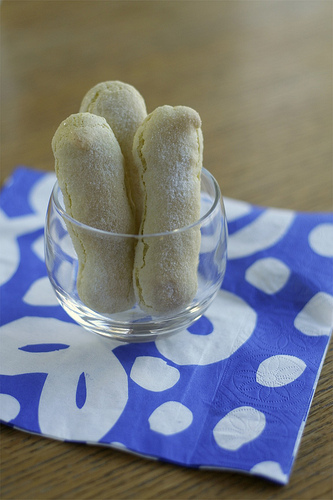
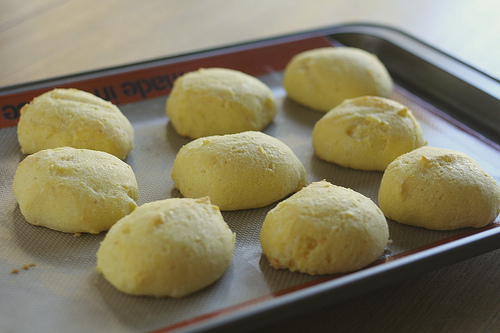
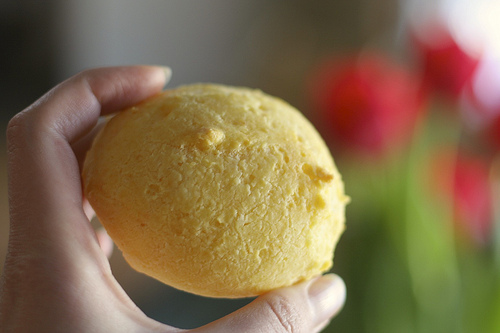
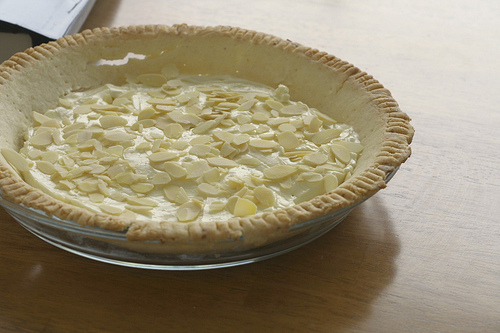
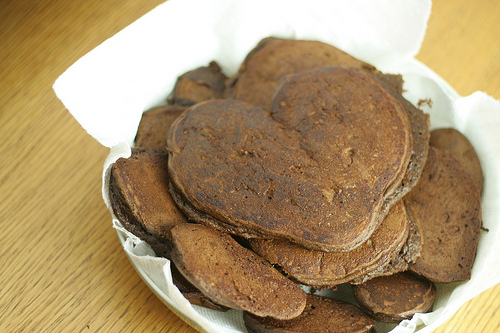
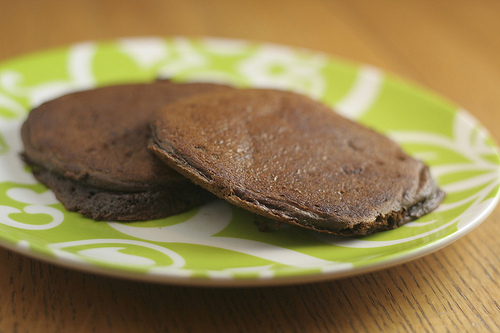
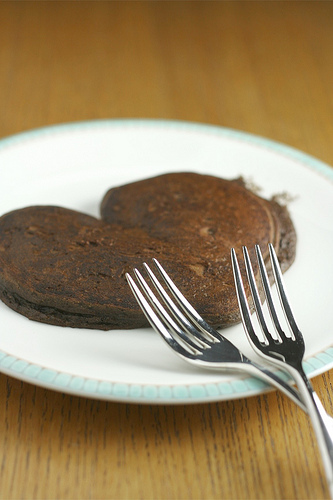
Ladyfingers. Soon, you will get this recipe. Seriously. It's worth the wait.
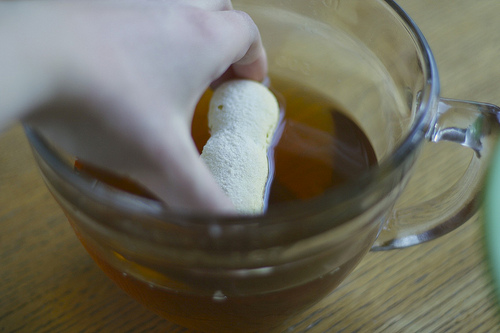
Dip in Chai.
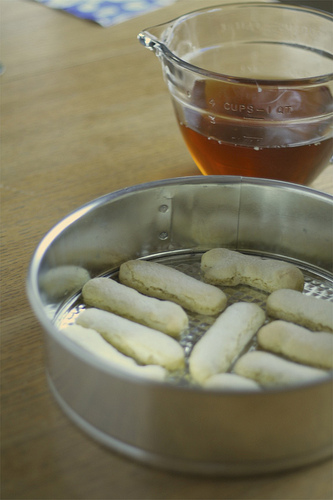
Drop in Pan.
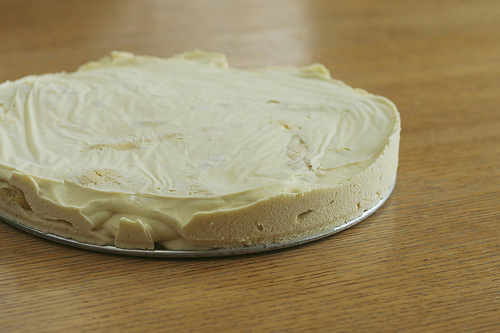
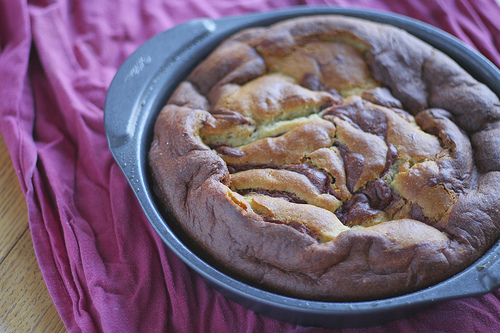
The next day, pull it out of the freezer. So unassuming, yet so awesome.
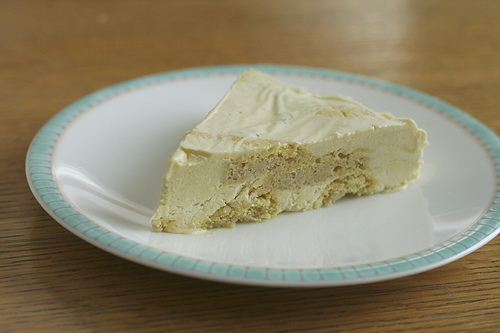
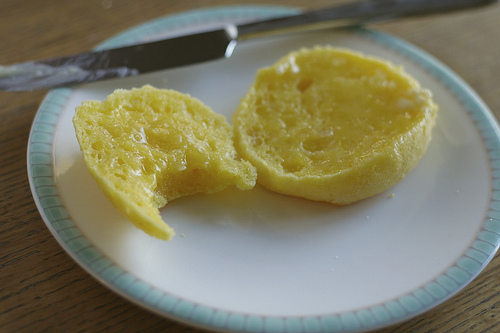
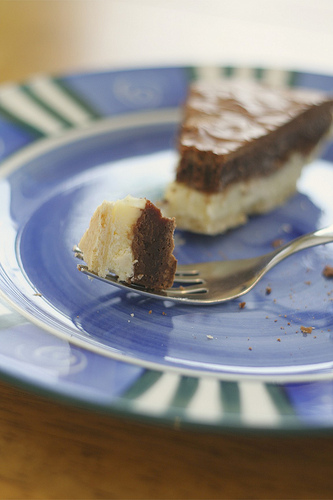
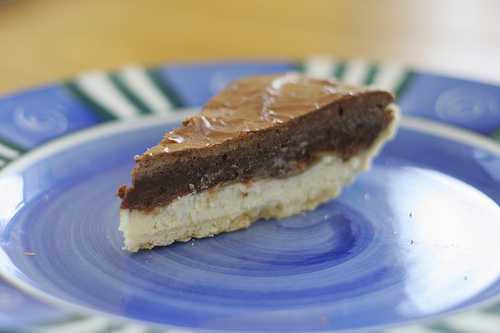
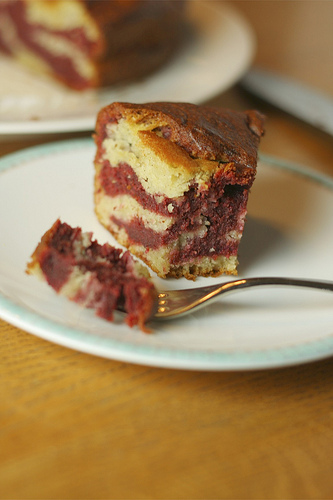
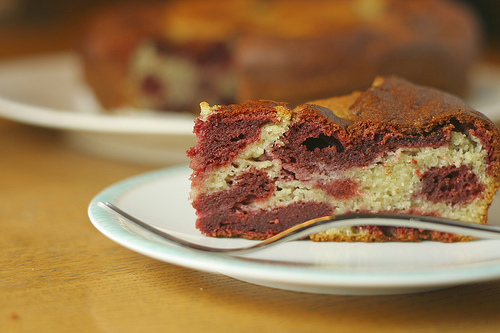
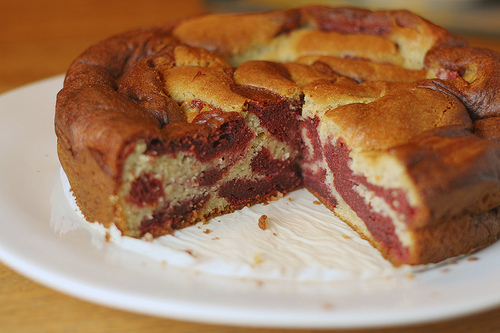
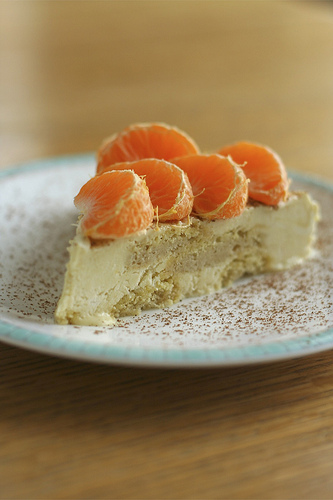
Isn't it gorgeous cut?
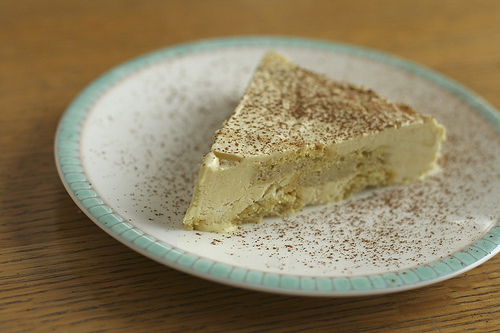
How about with a sprinkling of cocoa powder?
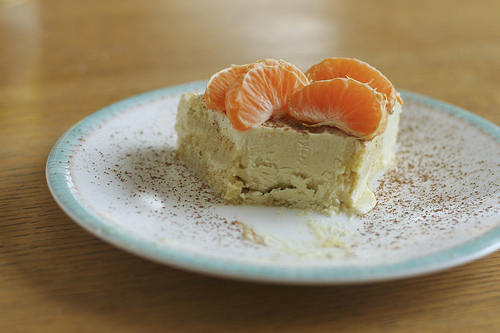
Or some orange wedges?
I've been eating so many oranges lately. Breakfast, Lunch, Snack, Dessert, Now.
I've been eating so many oranges lately. Breakfast, Lunch, Snack, Dessert, Now.
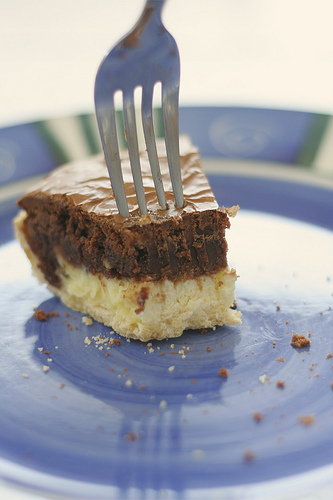
Is it weird to say that this photo brings me peace? The little spot on the corner that is just starting to melt, the crystalized centre that was smoothly removed with a fork, the innocent cocoa standing by. The clementine wedges in all of their orange, segmented glory. It just feels right to me.
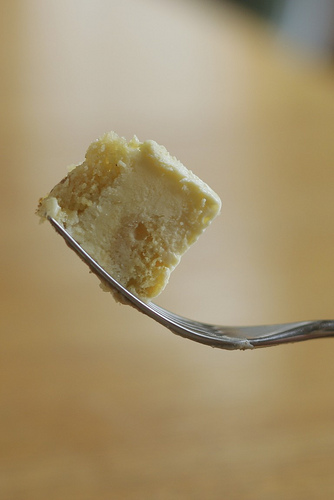
It ends with one bite. Don't they always?
---
Once more, please consider purchasing an ebook for Haiti!
Thank you immensely to Deeba and Aparna for this challenge! You pushed me out of my comfort zone and into the arms of this fabulously versatile dessert. Thank you for all of your work on the challenge, it was wonderful!
xoxo
Lauren